Admin Portal - giving permission to company for adding subsidiary or licence group
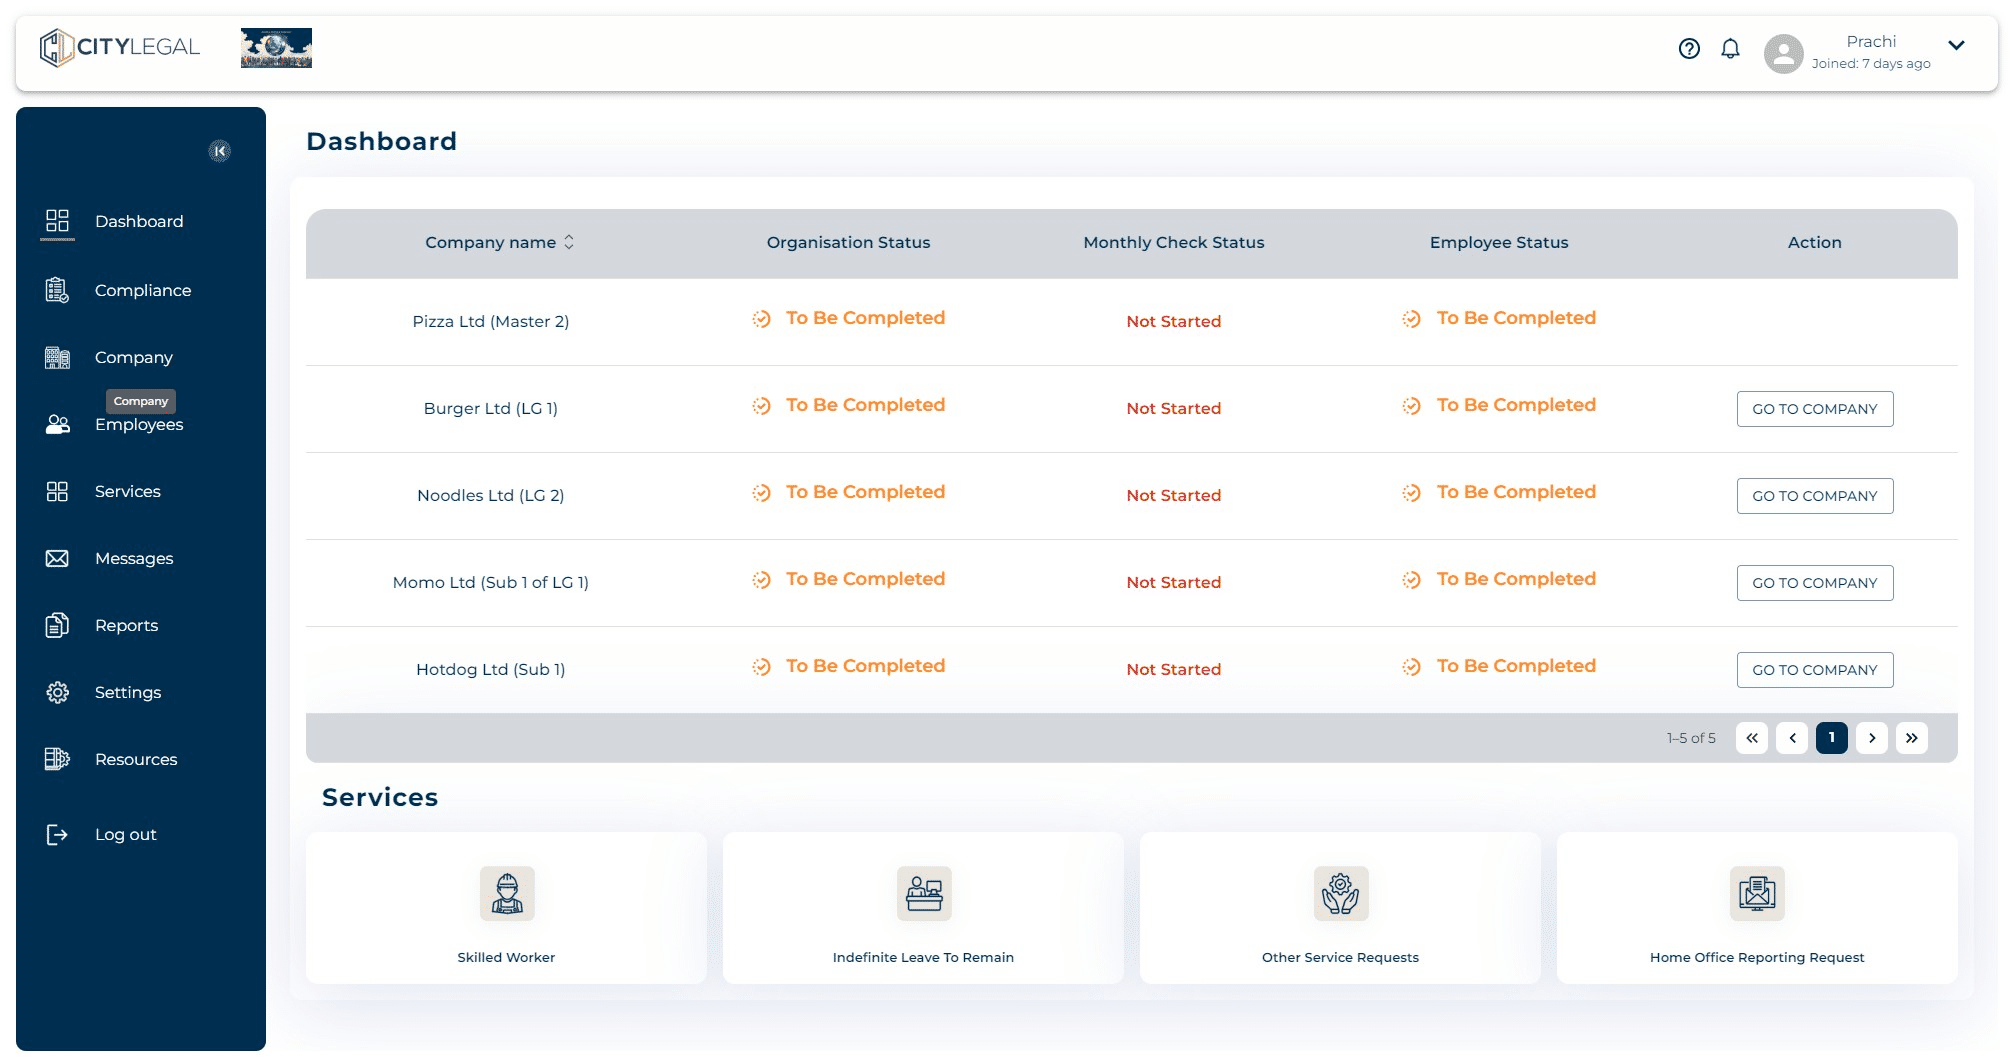
Navigate to 'Company'.

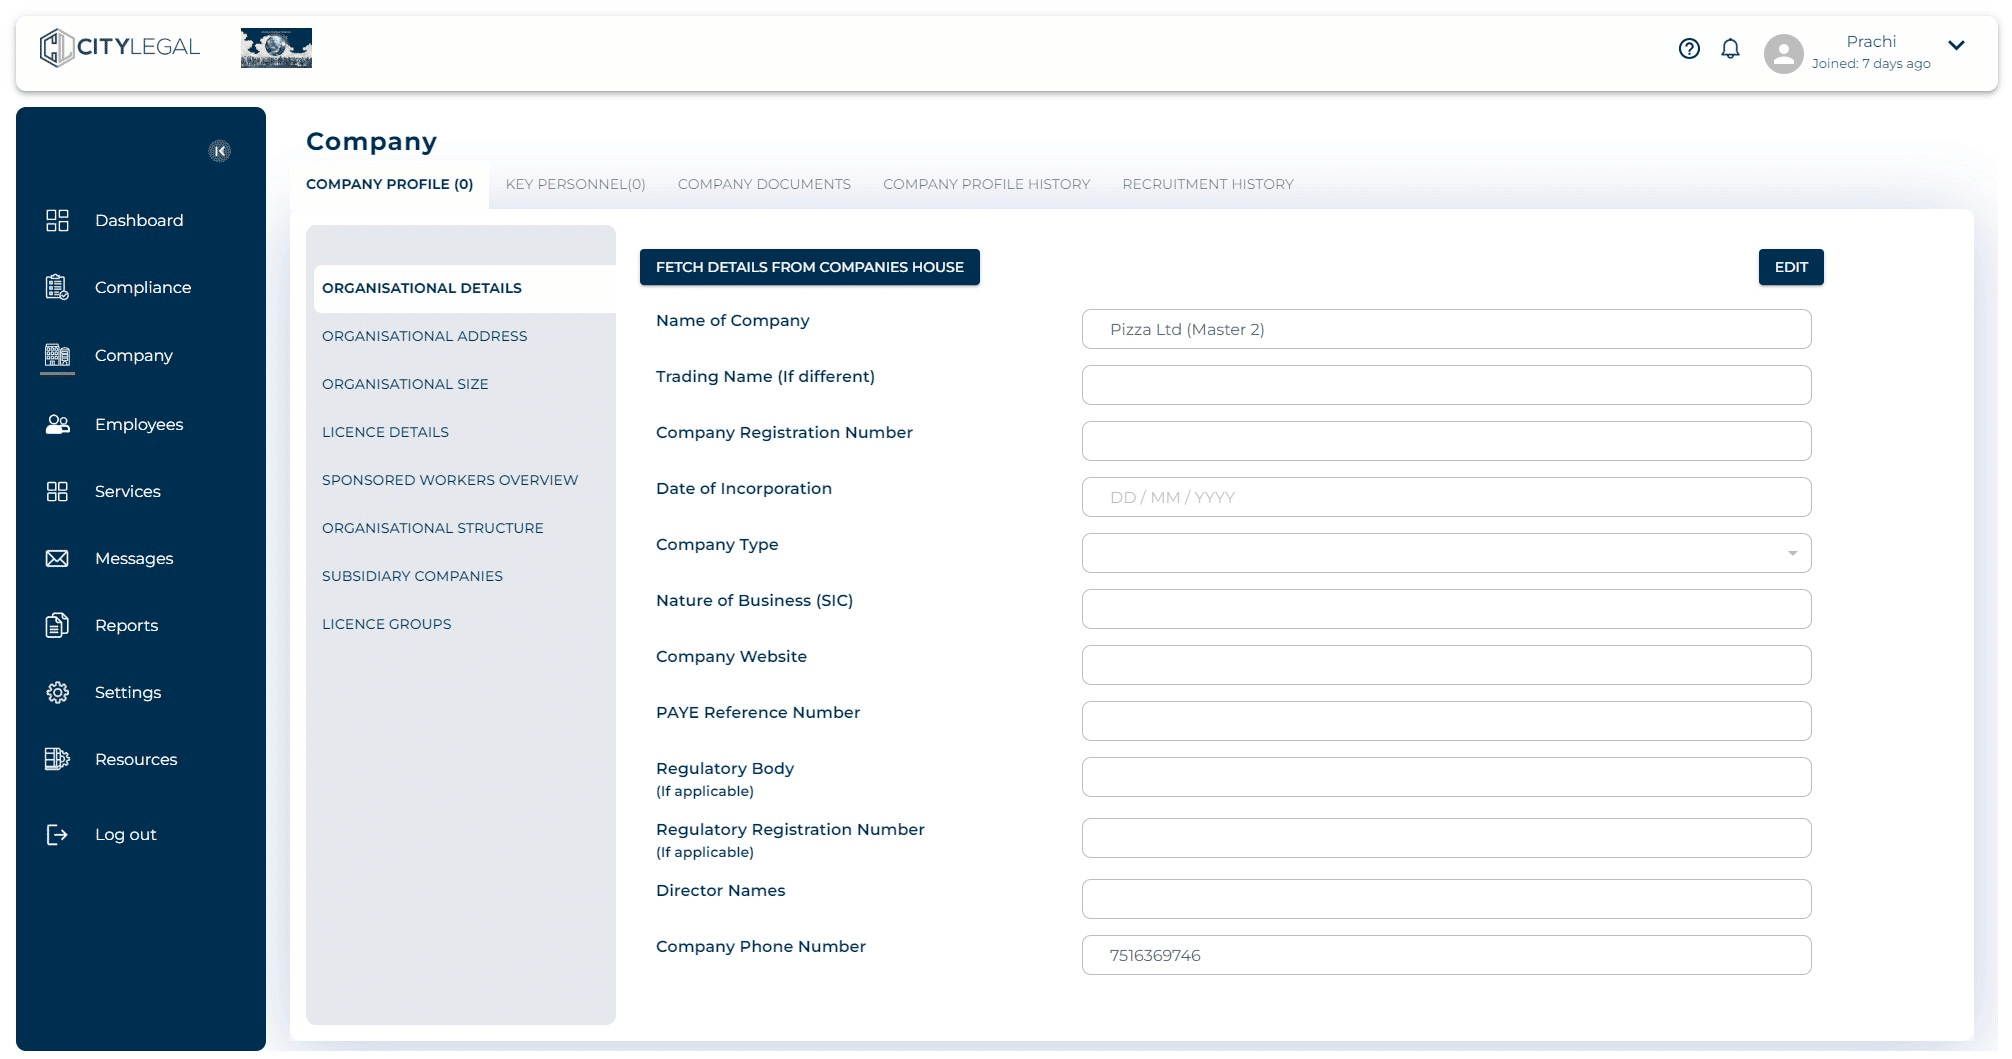
Click on "Subsidiary Companies"
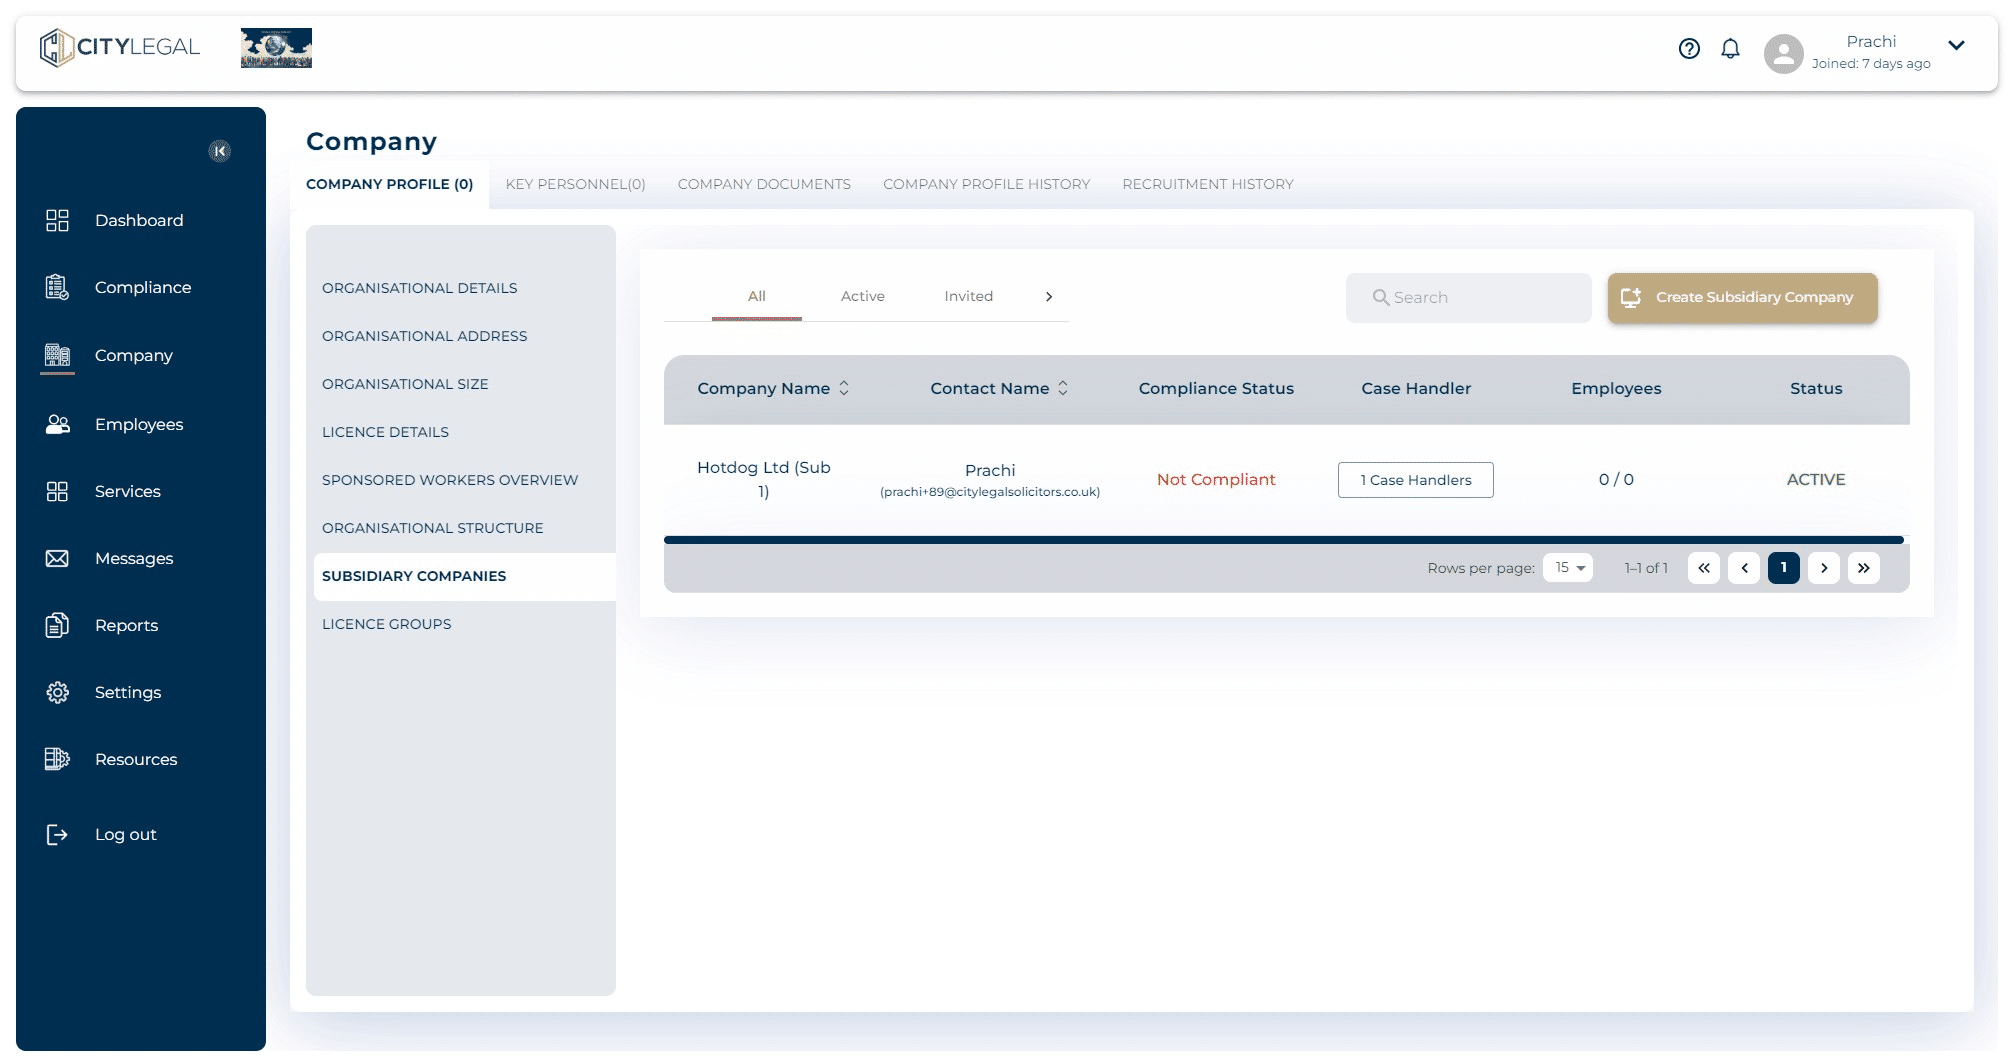
Click on 'Create Subsidiary Company'.
Here you will be allowed to add all the necessary details about the subsidiary company. This section already picks up the Contact Person details from the master company. You can change it if you have a different contact person for the subsidiary.
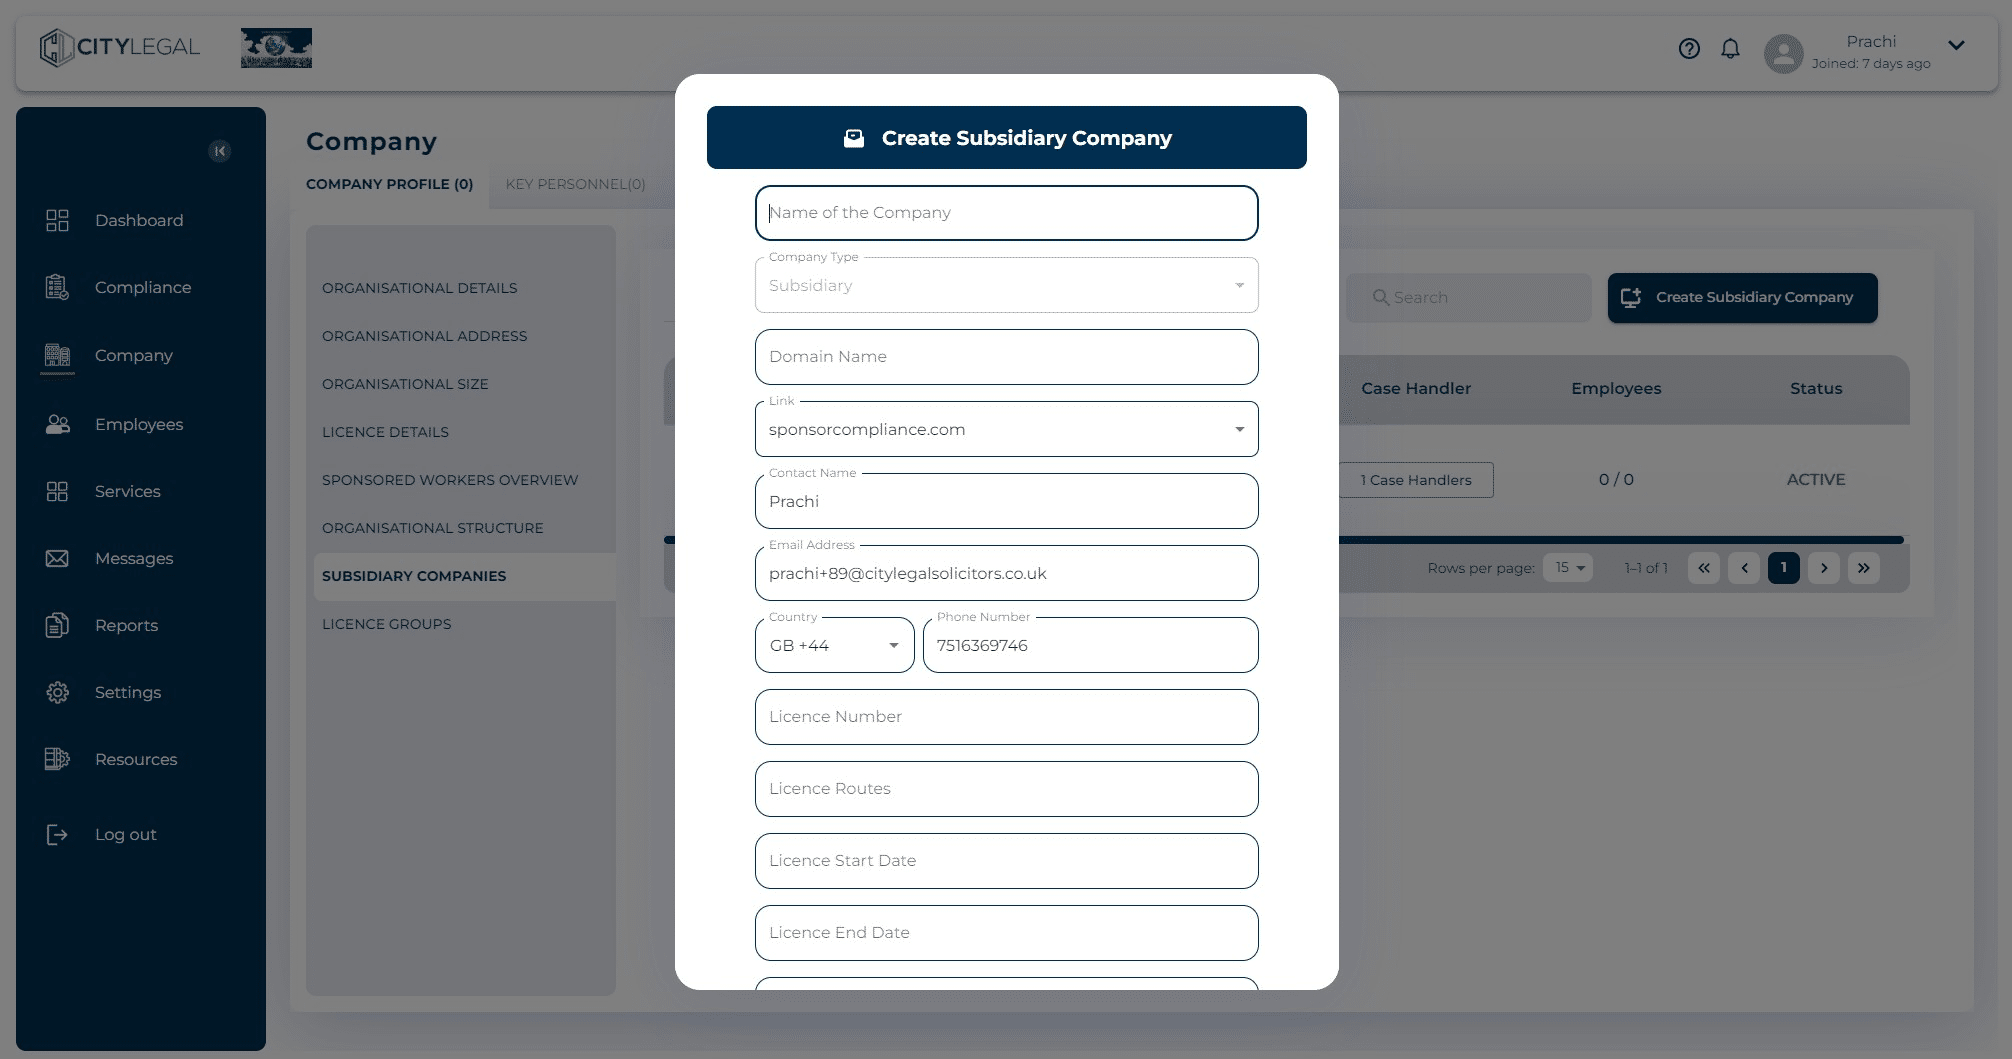
After filling all the details, click on 'Next'.
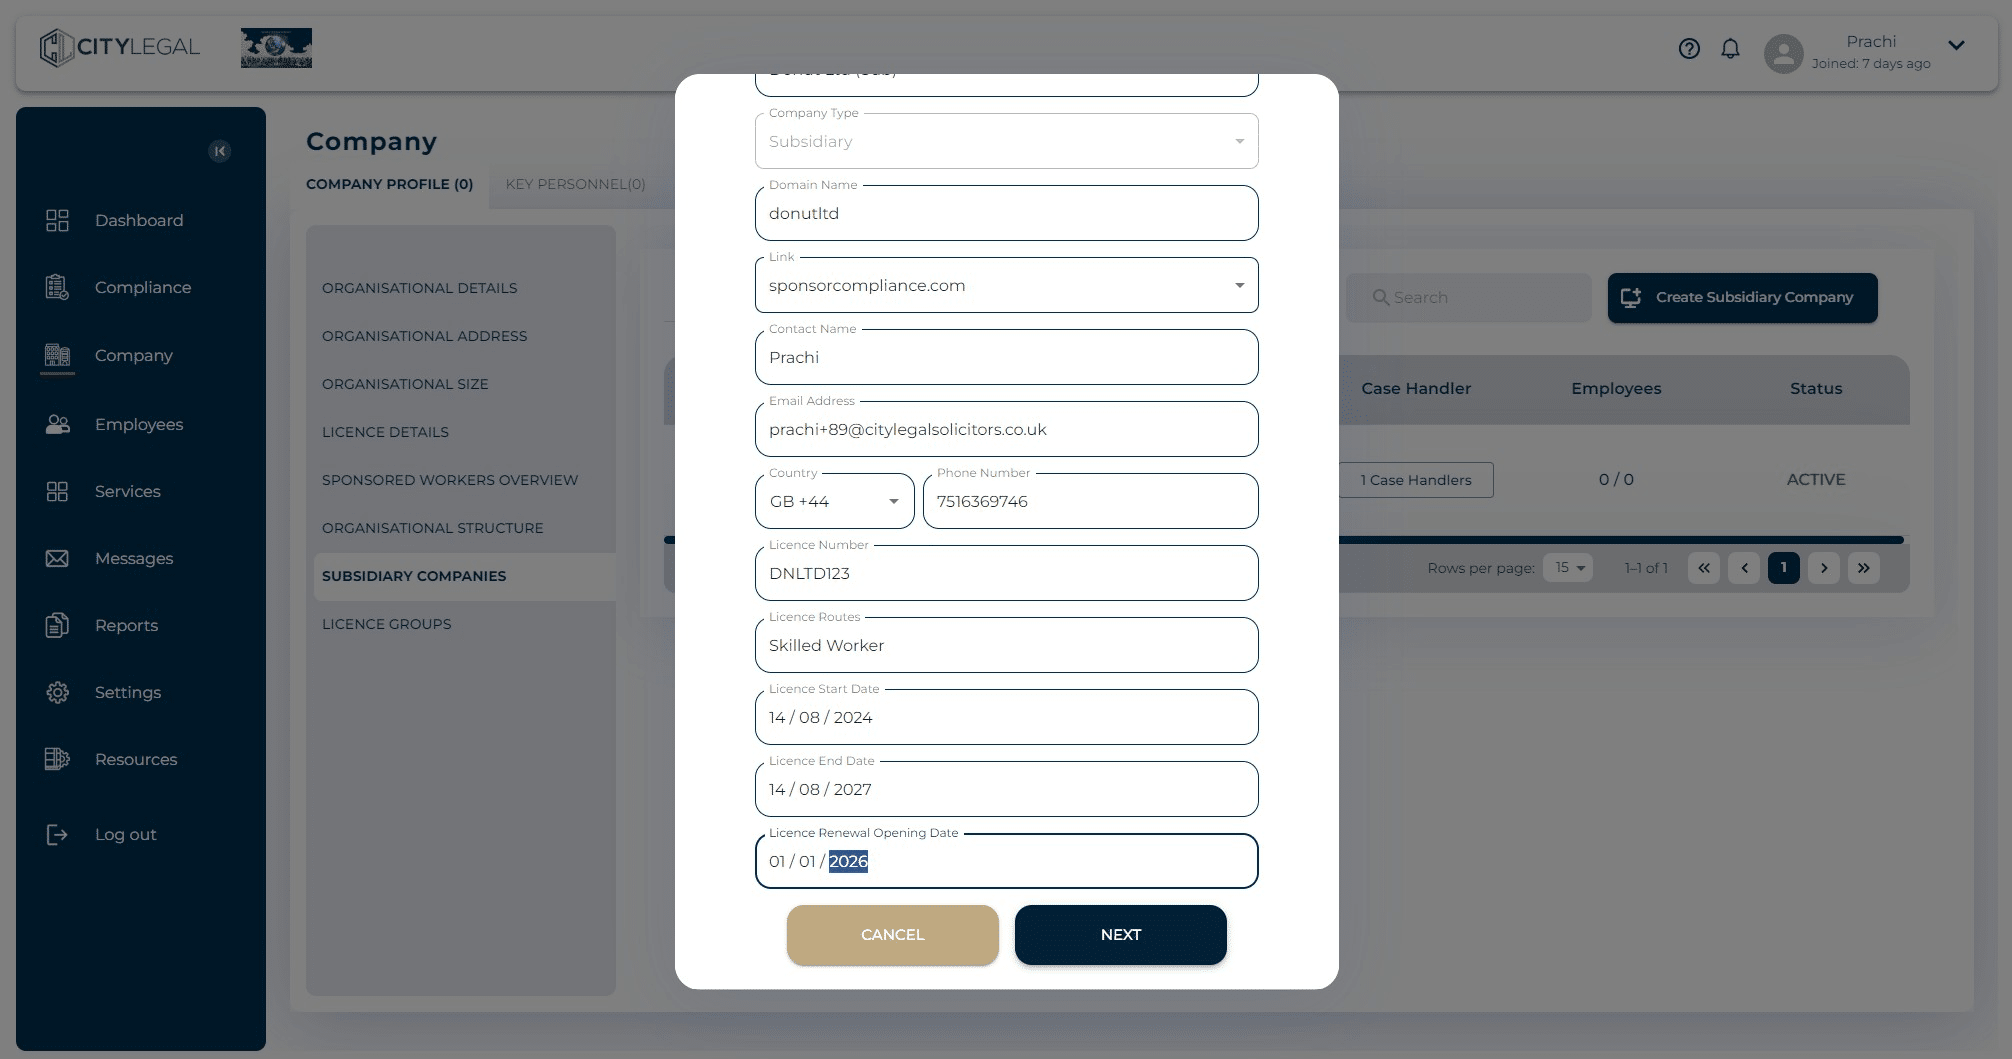
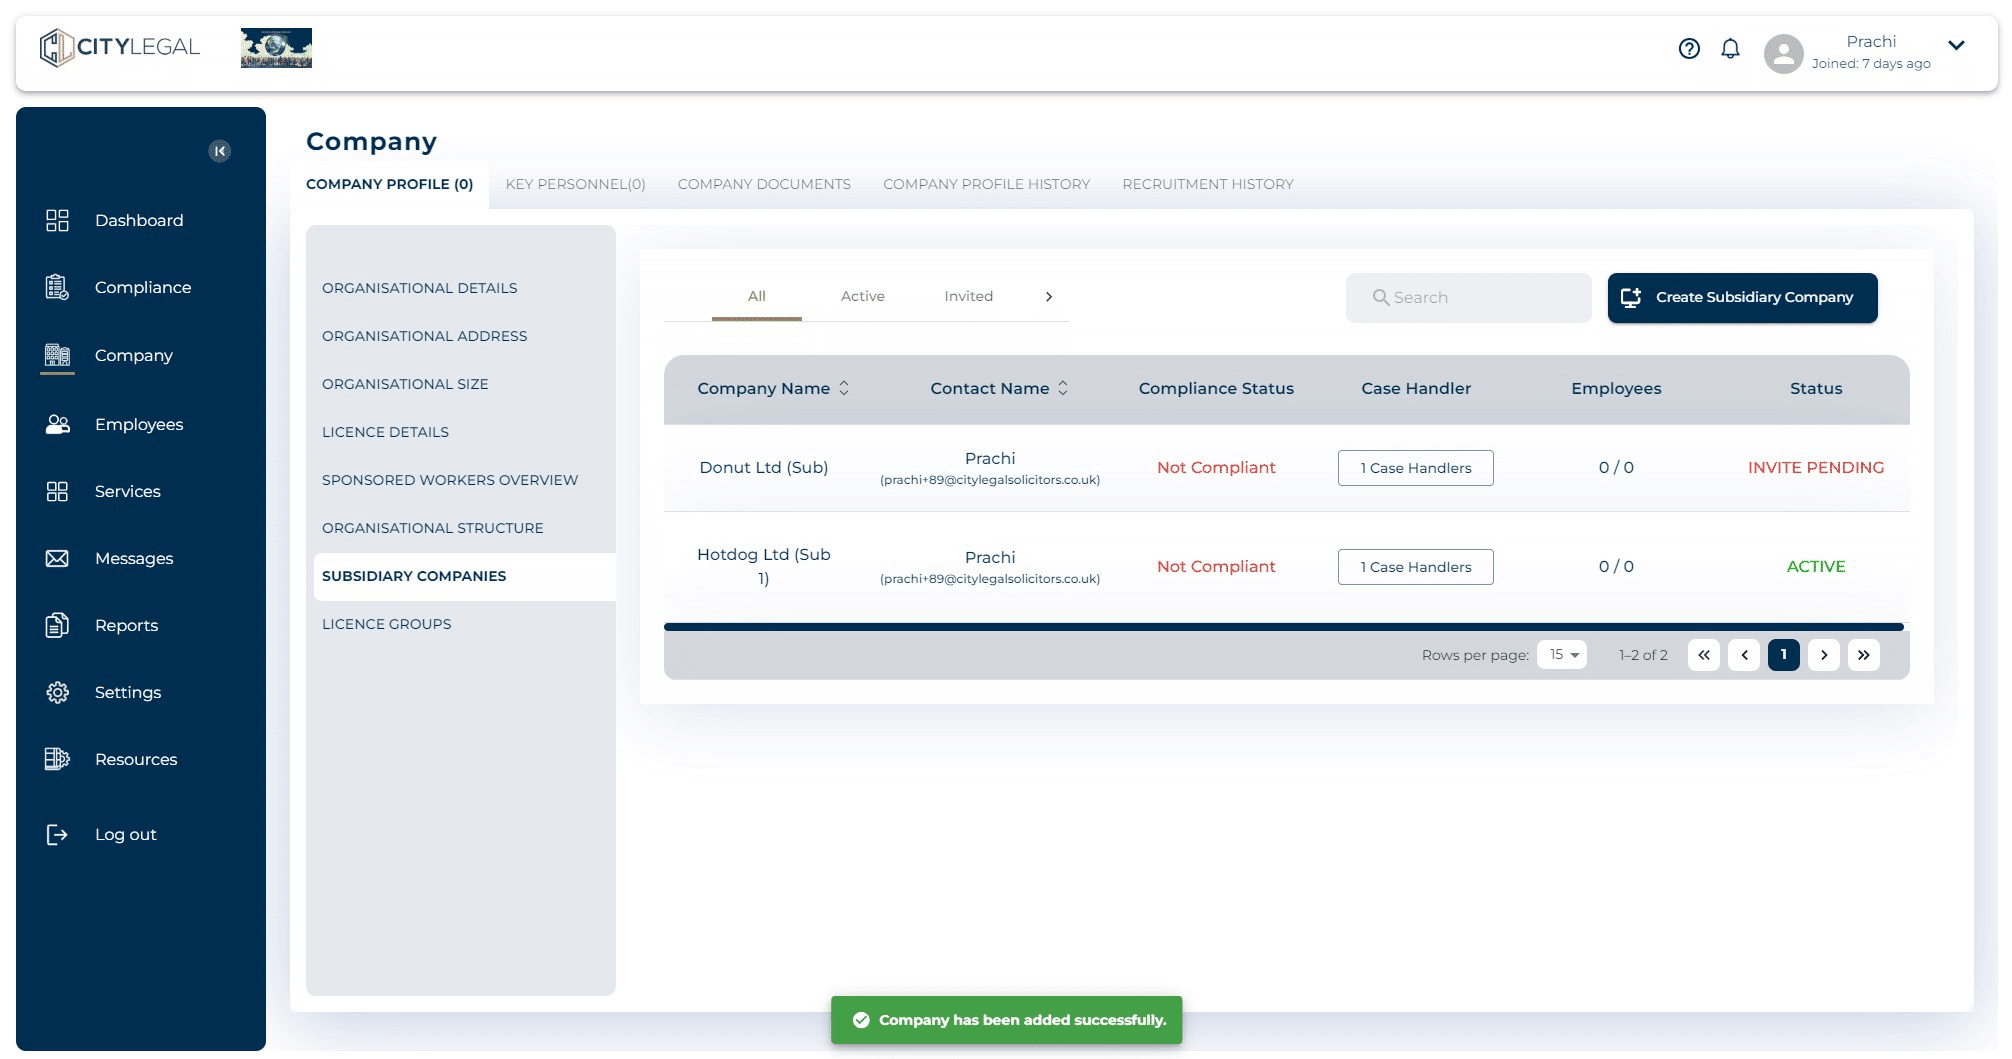
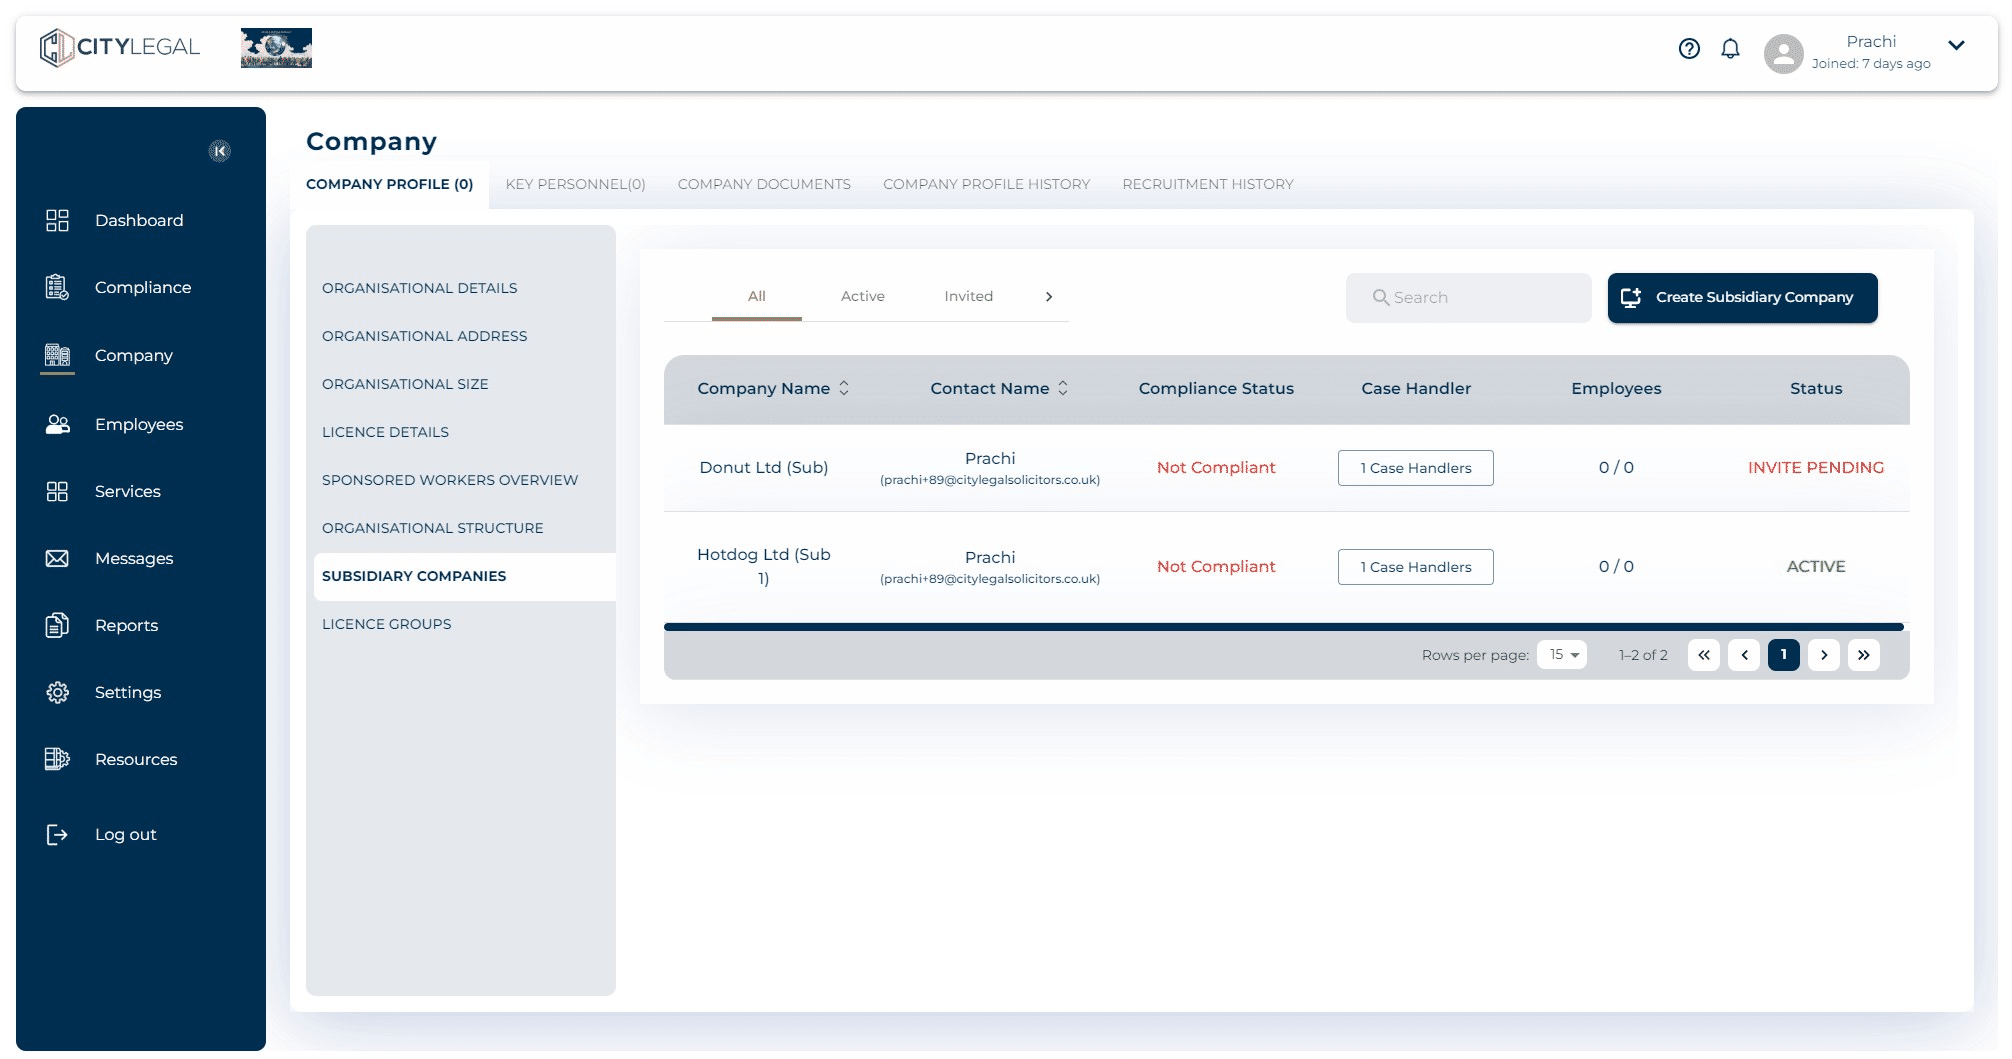
The subsidiary company will be added here. To activate the portal of the subsidiary company, invite the company. Once the contact person logs in the given subsidiary portal domain, they will be activating the subsidiary portal.
Similarly, the company can add the licence group (if any) in a similar manner. From the 'Company' section, click on 'Licence Groups'.
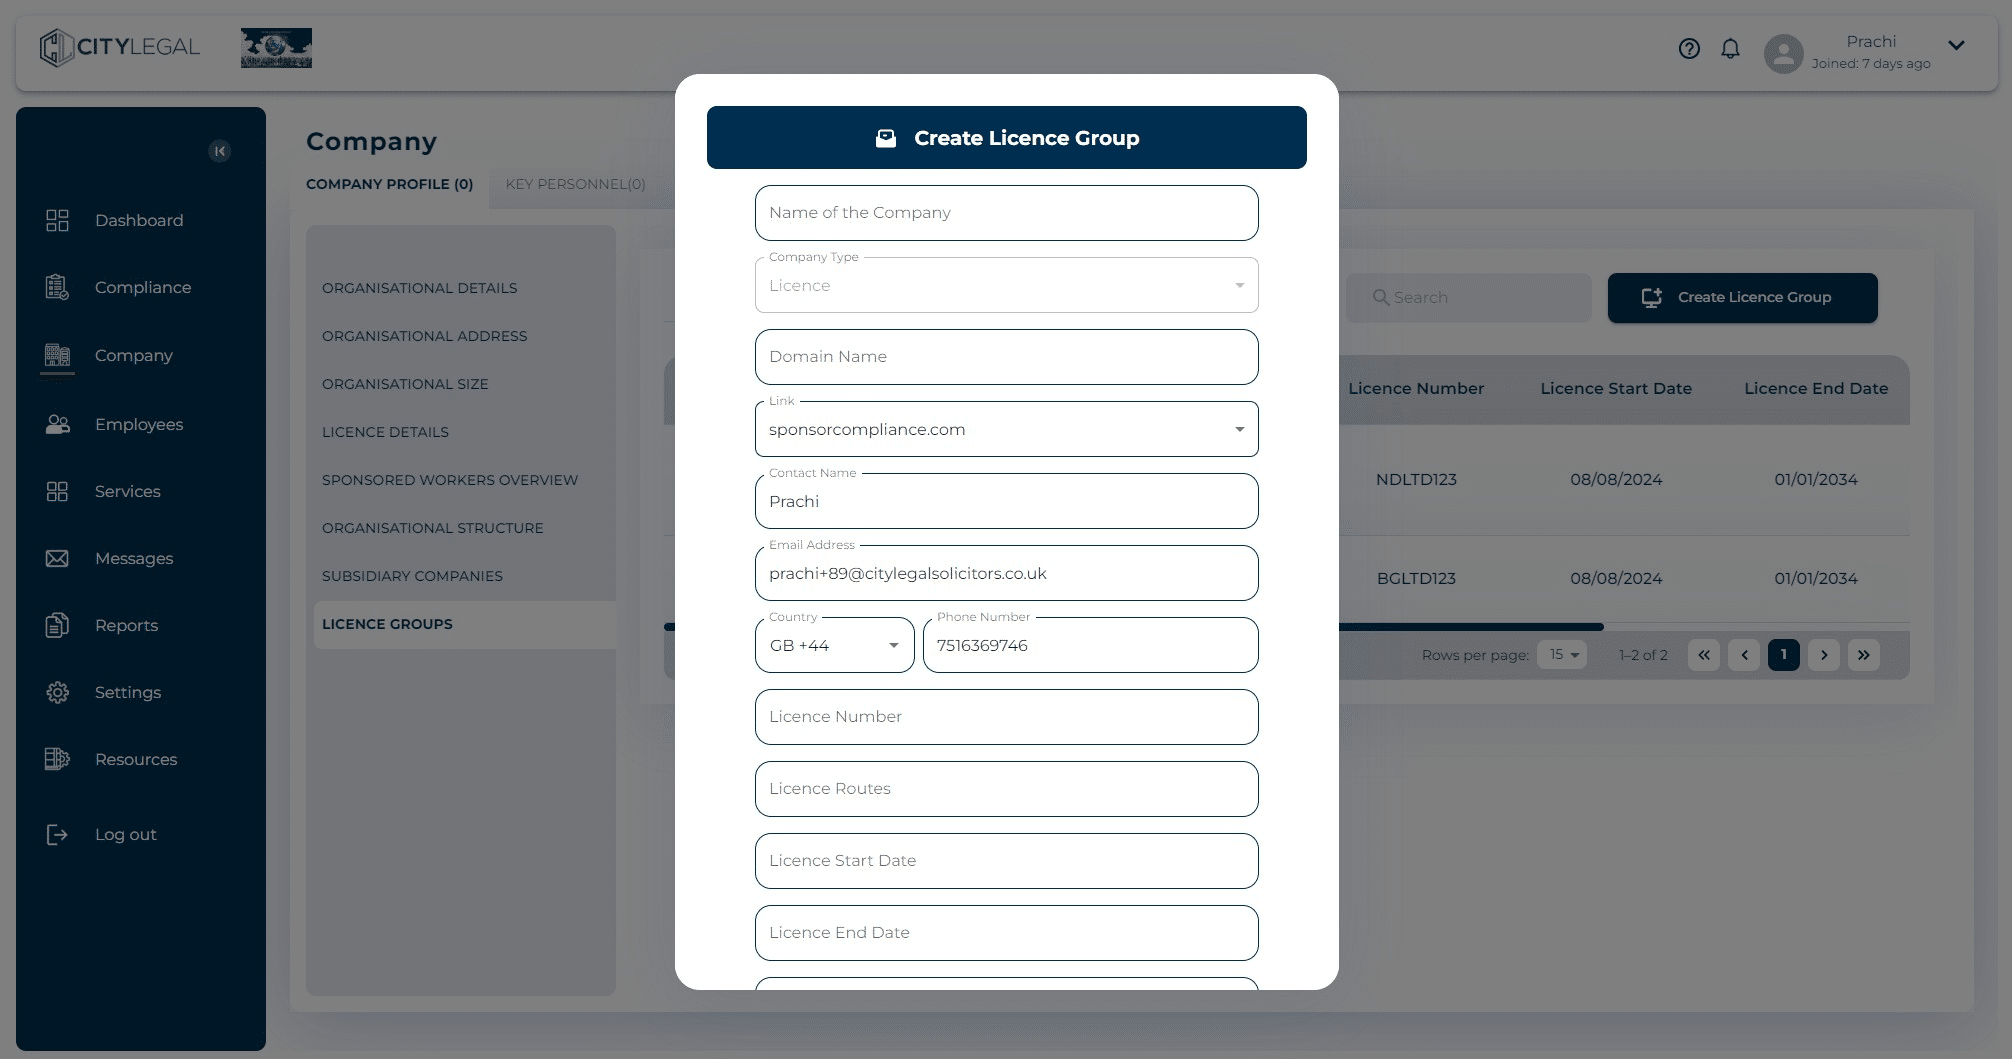
Click on 'Create Licence Group'.
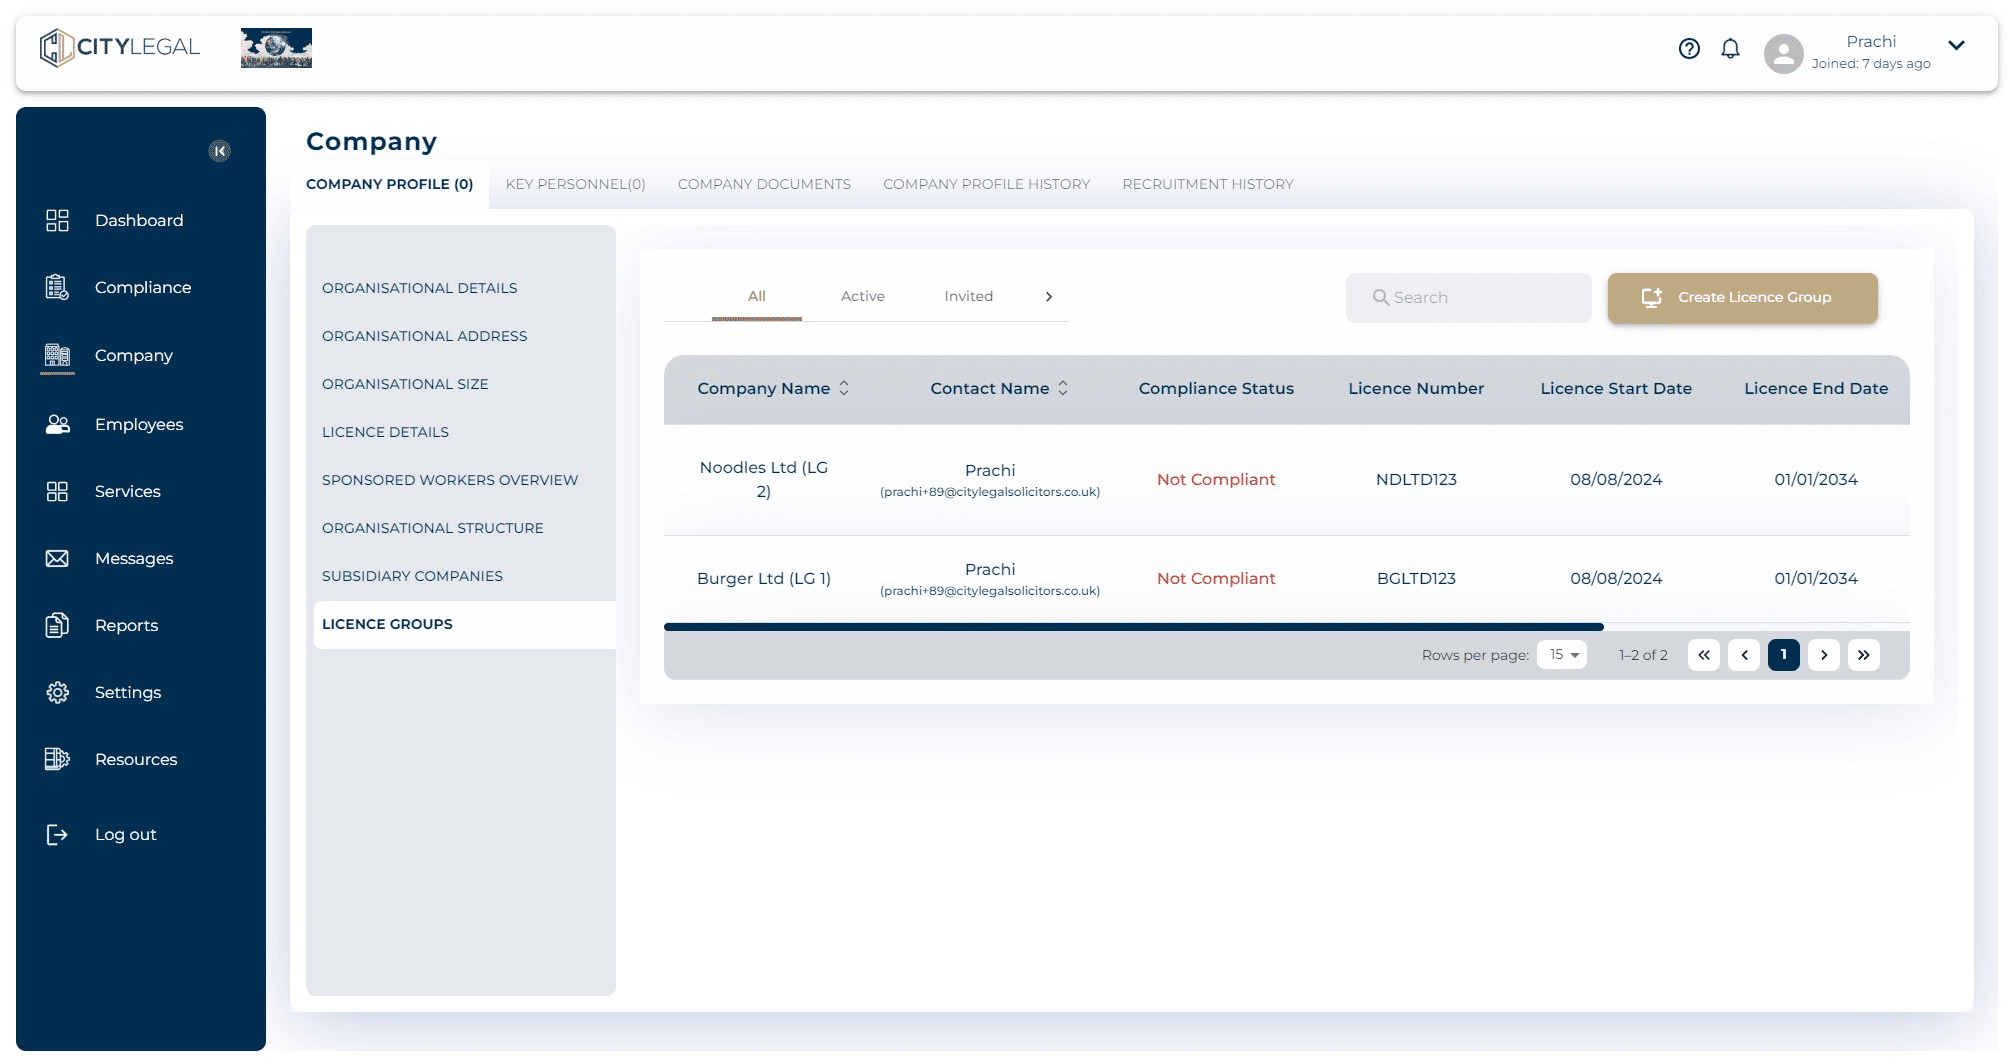
Fill in all the details of the Licence Group and click 'Next' to finish adding the licence group.
To give permission to the company to add the subsidiary or licence group themselves, click on "Settings".
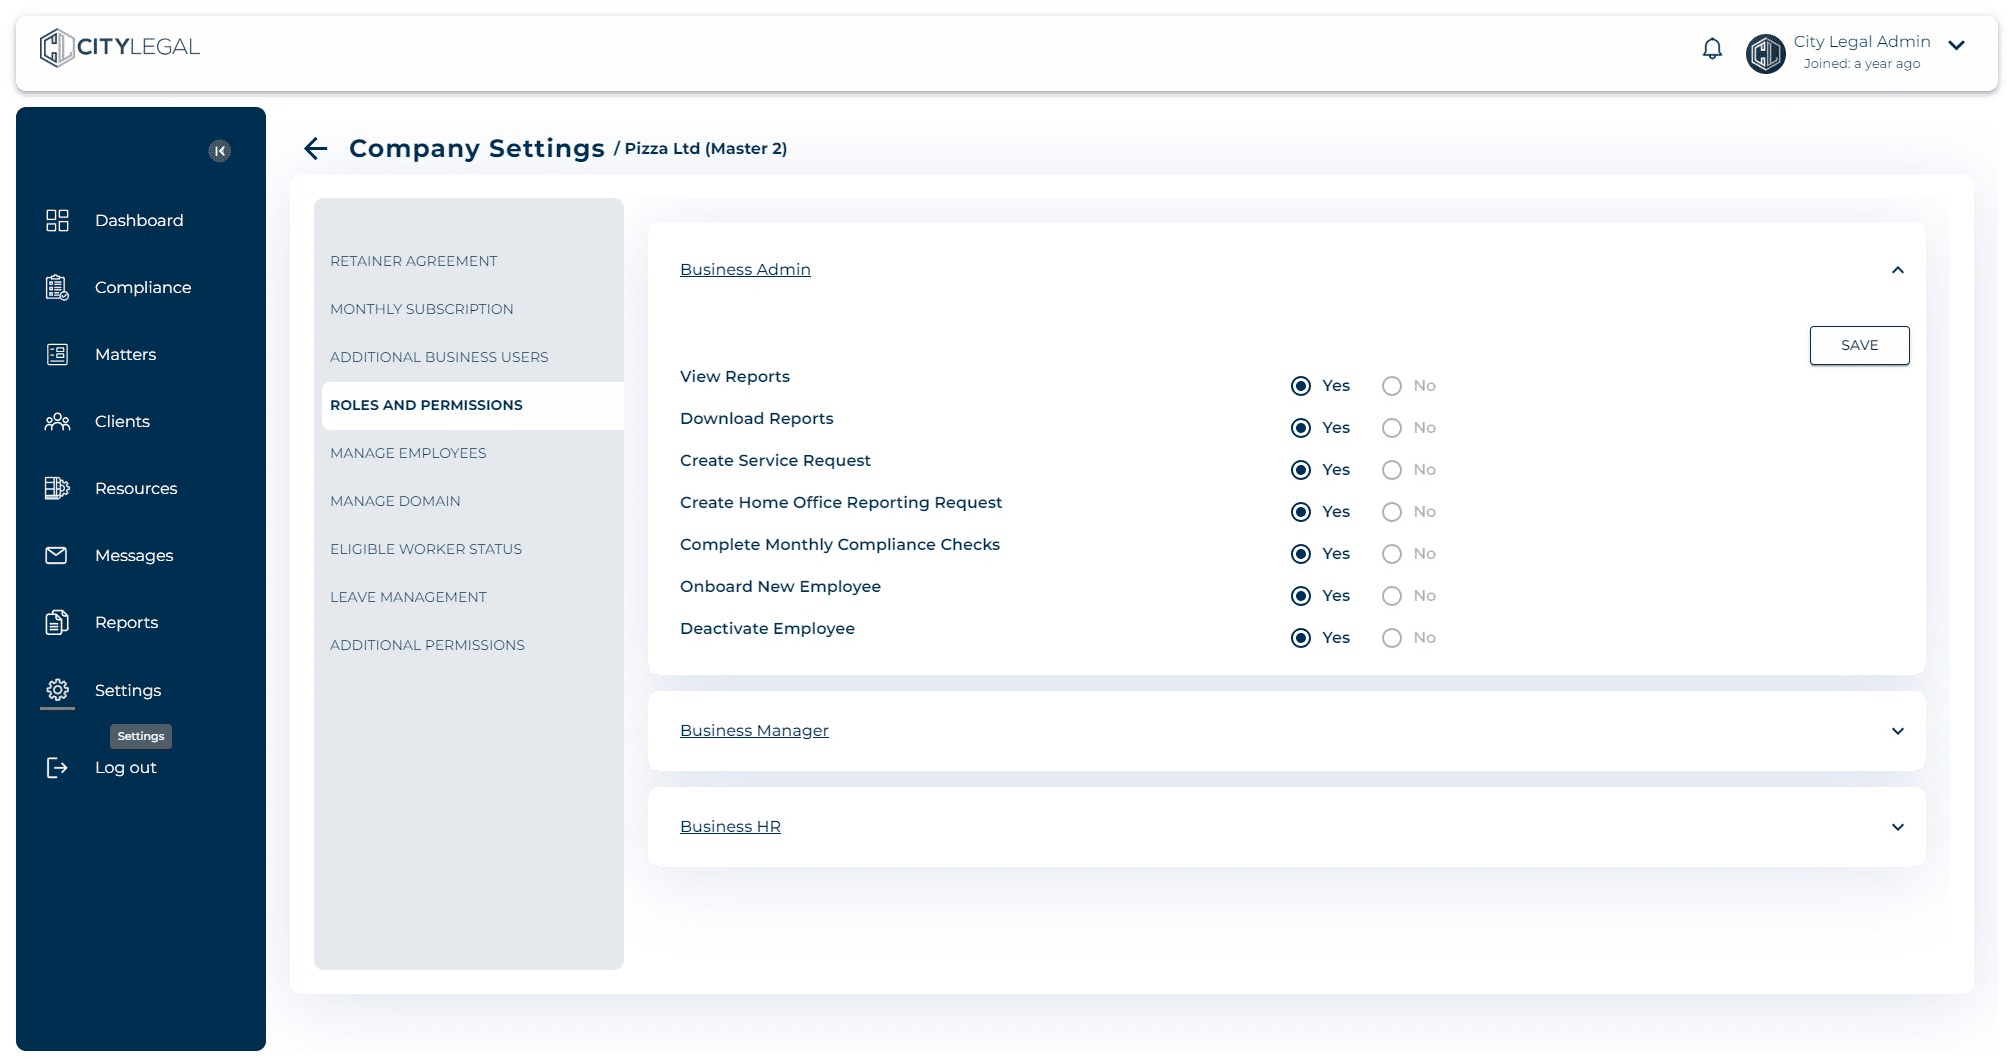
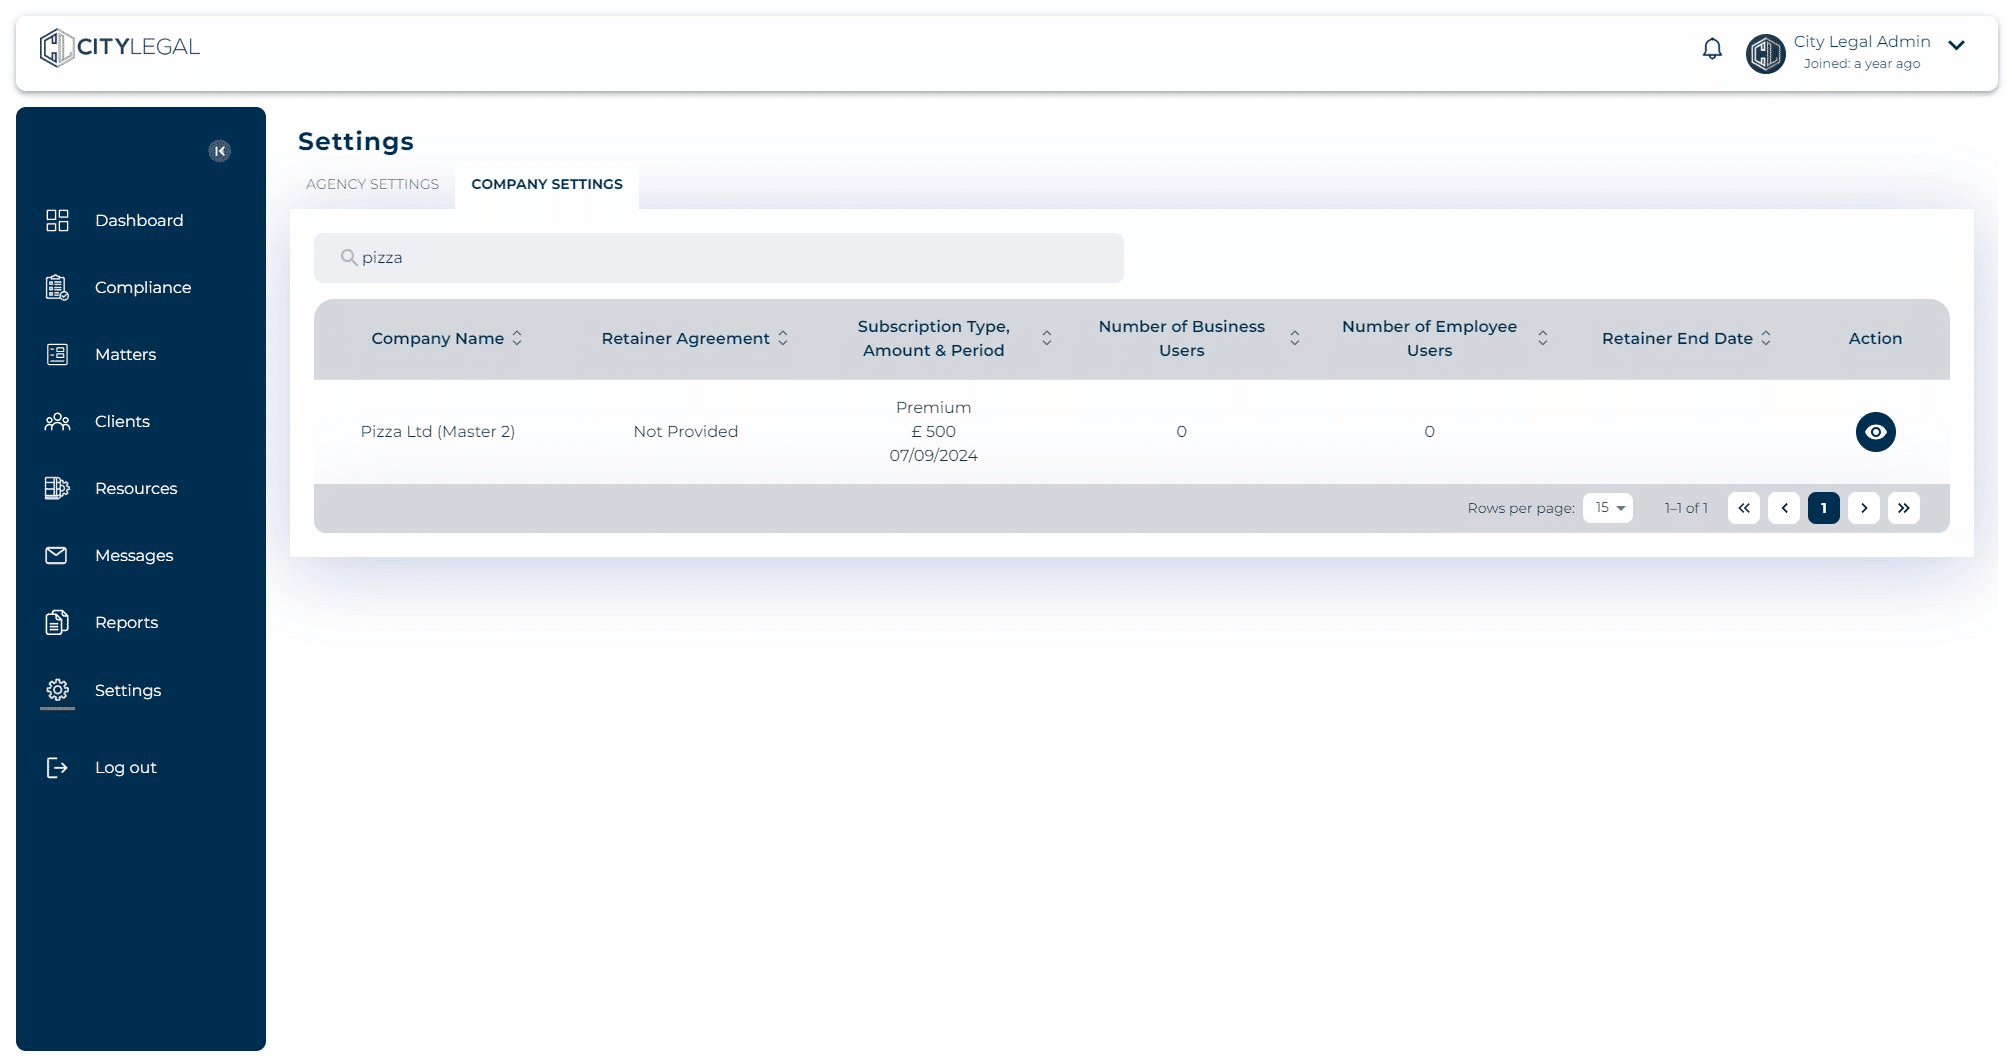
Click on "Company Settings".
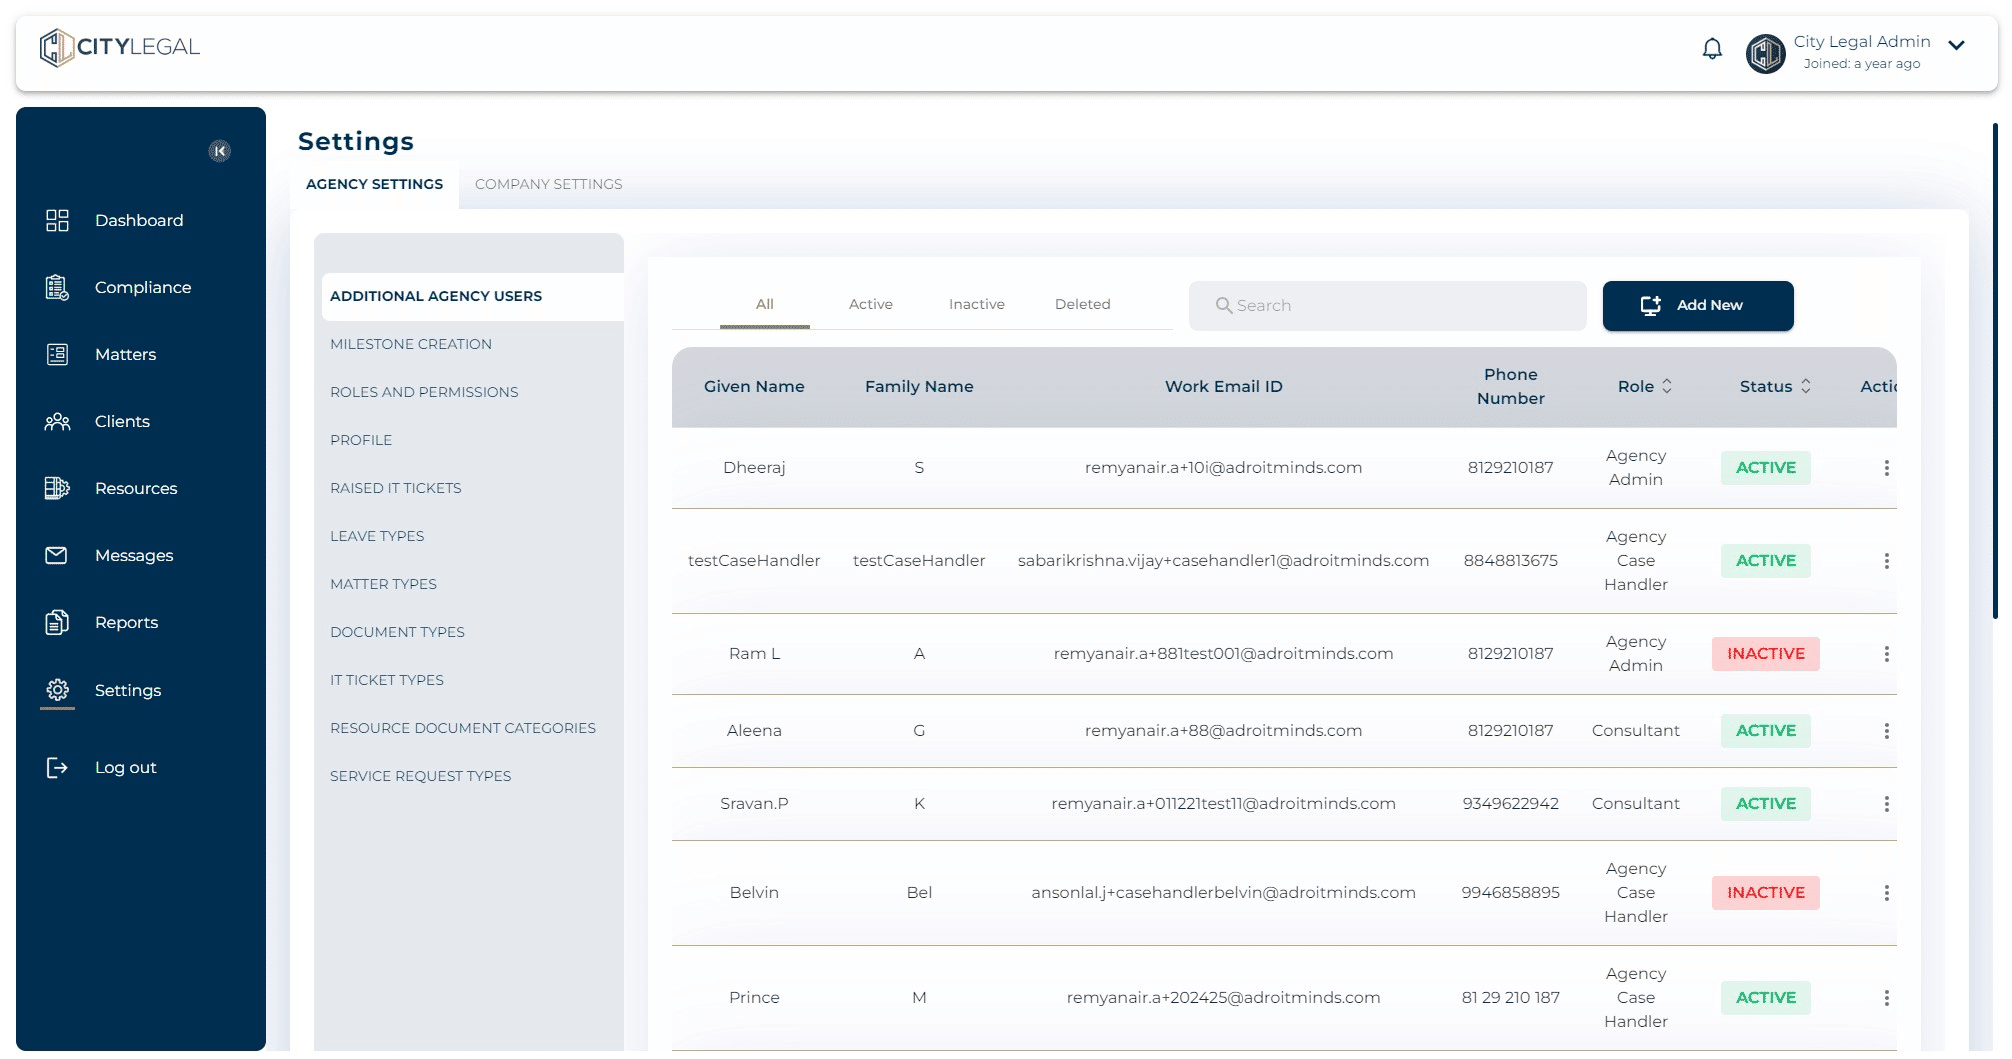
Search the company by name. To edit the settings, click on the eye icon next to the company name as shown below.
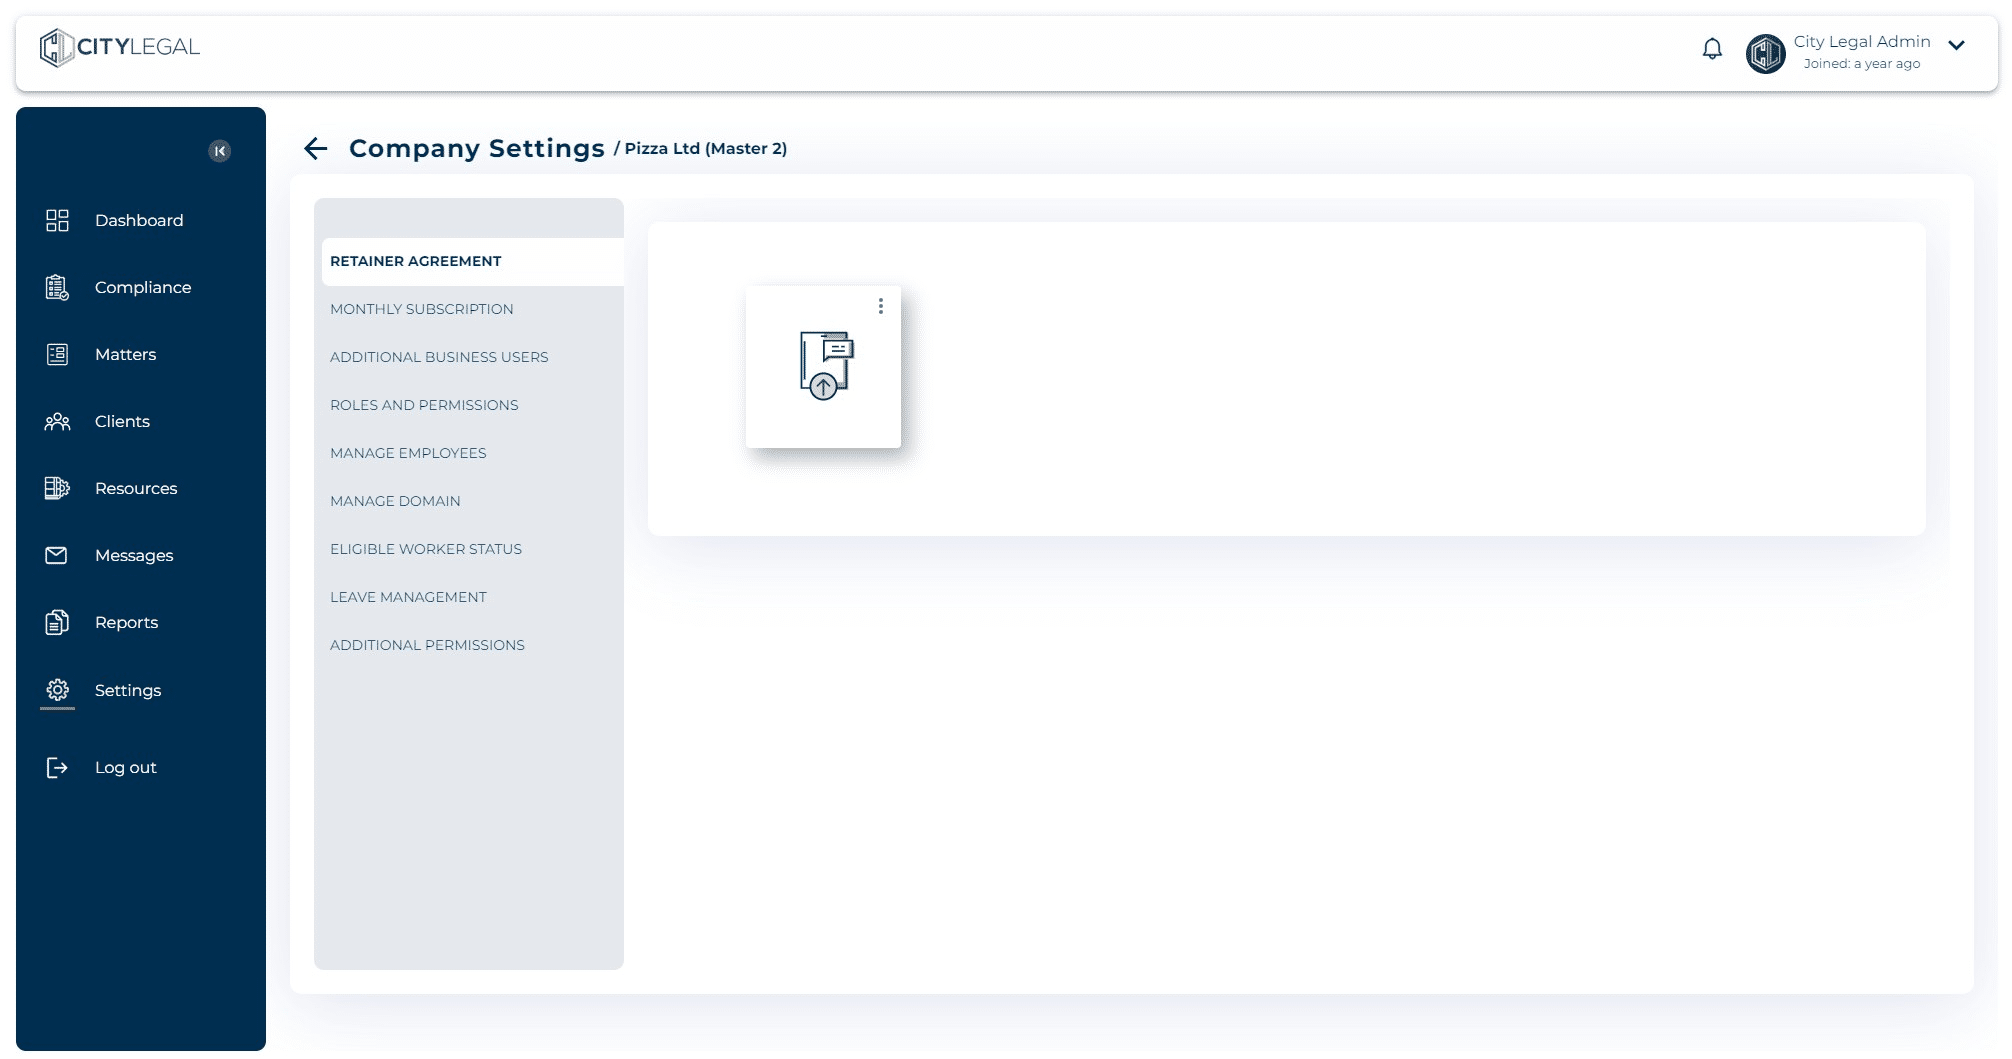
Go to "Additional Permissions".
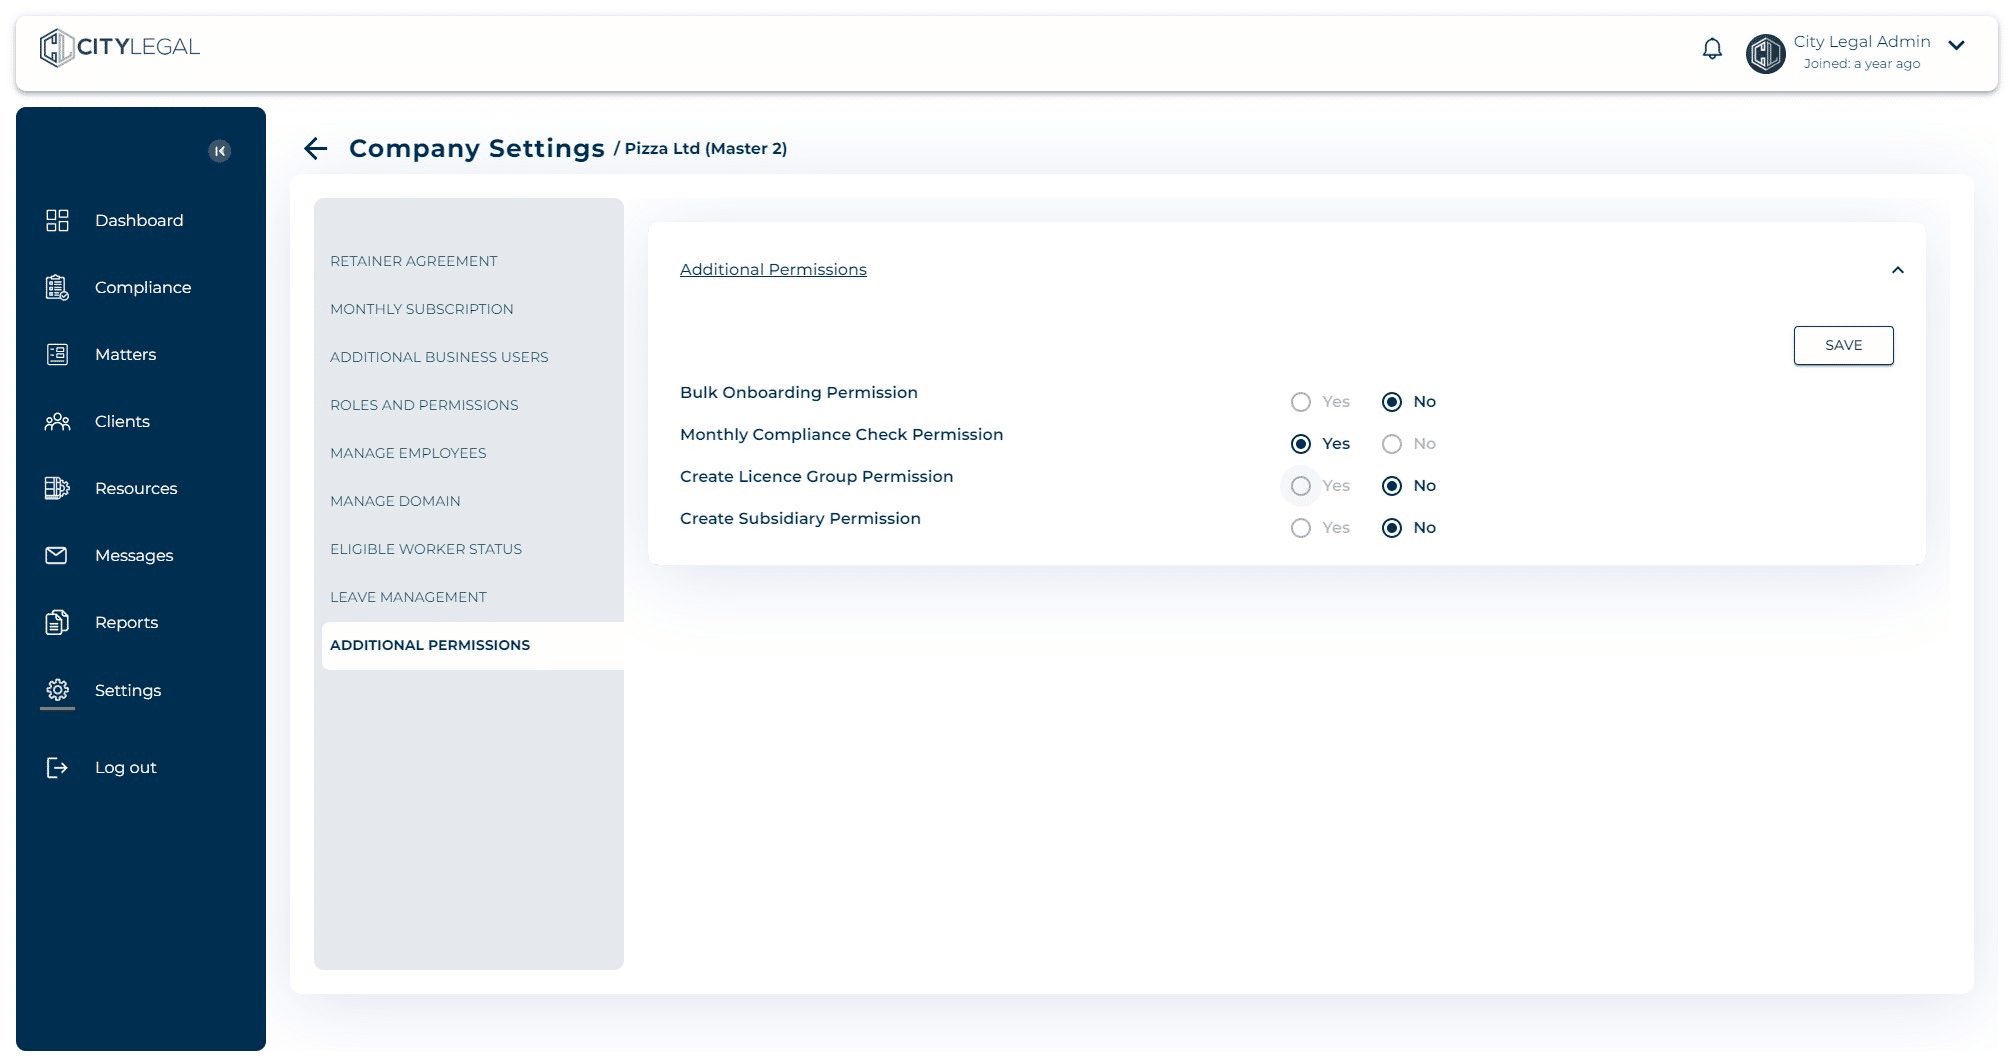
Click on 'Yes' for each permission you want to give to the company and 'No' for the restricted permissions.
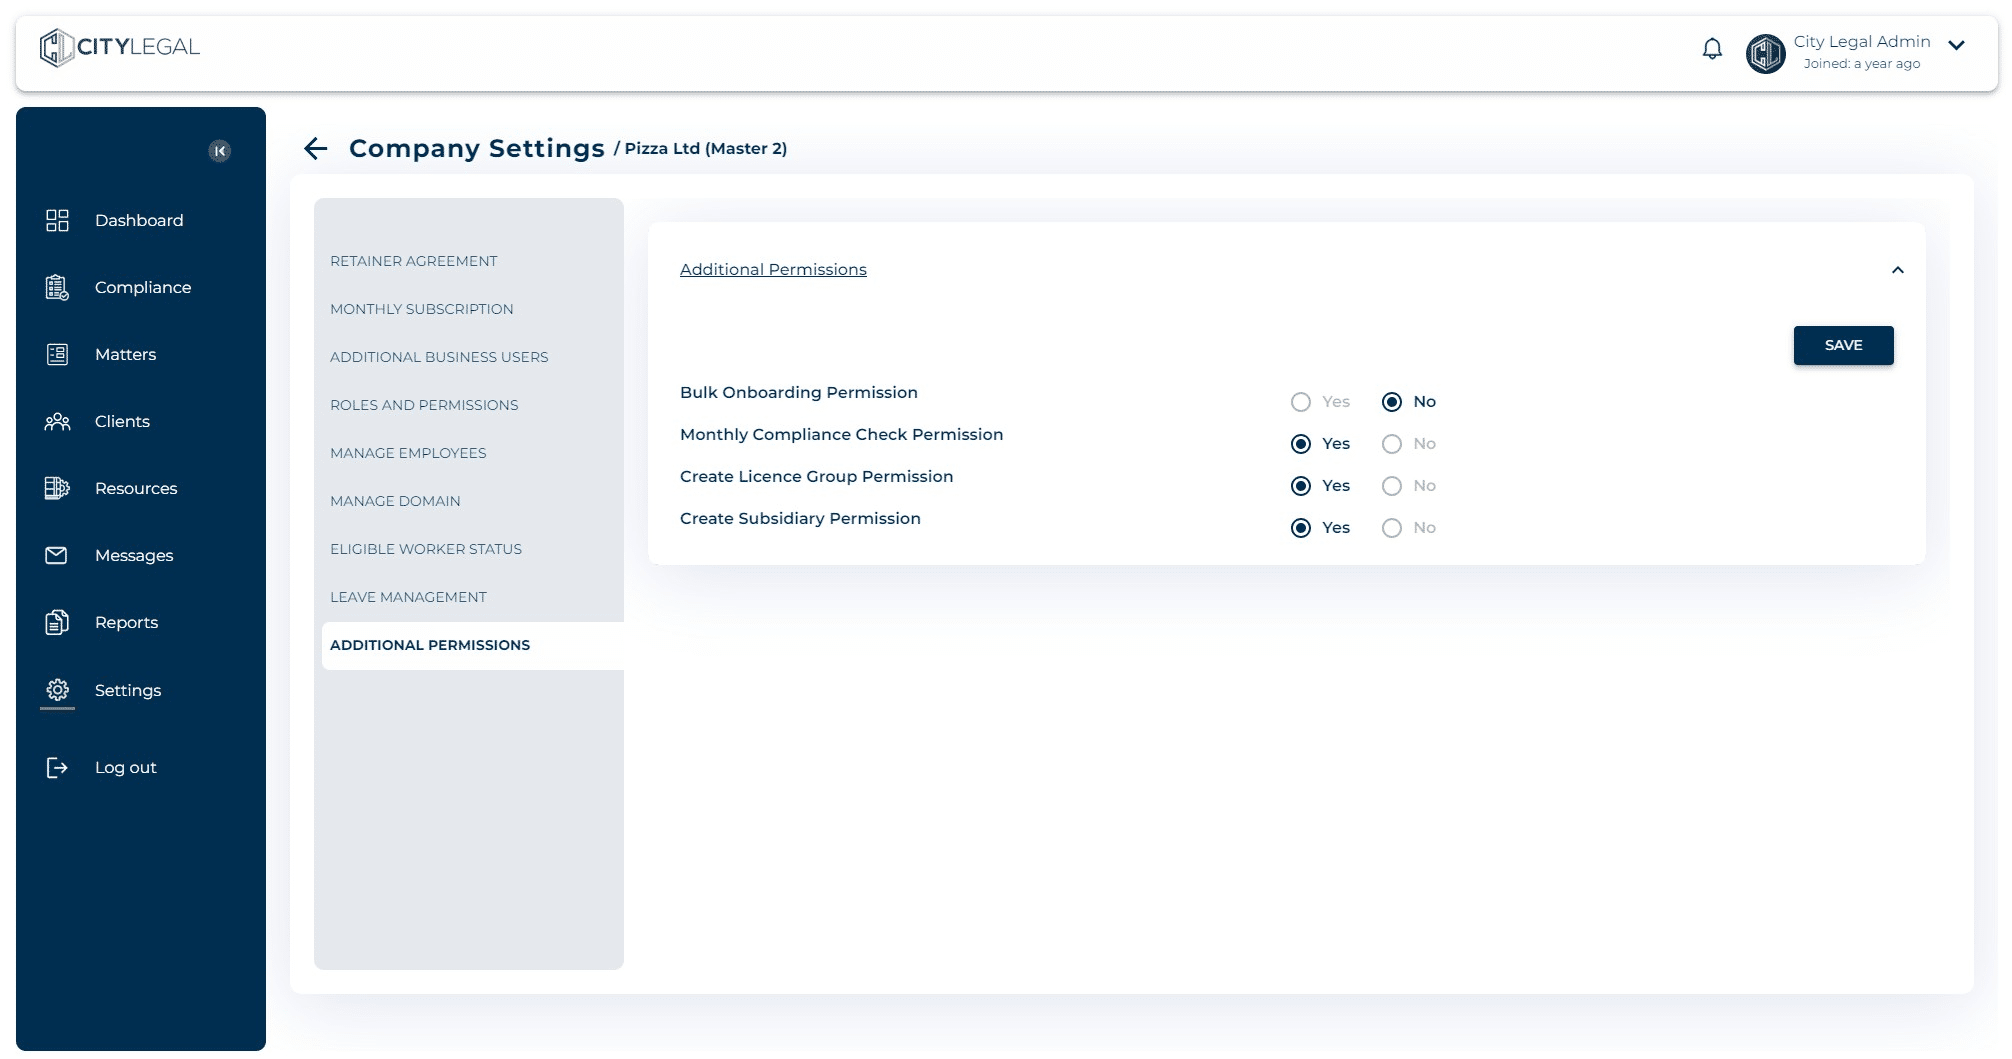
Click on "Save" once you have made the necessary changes.
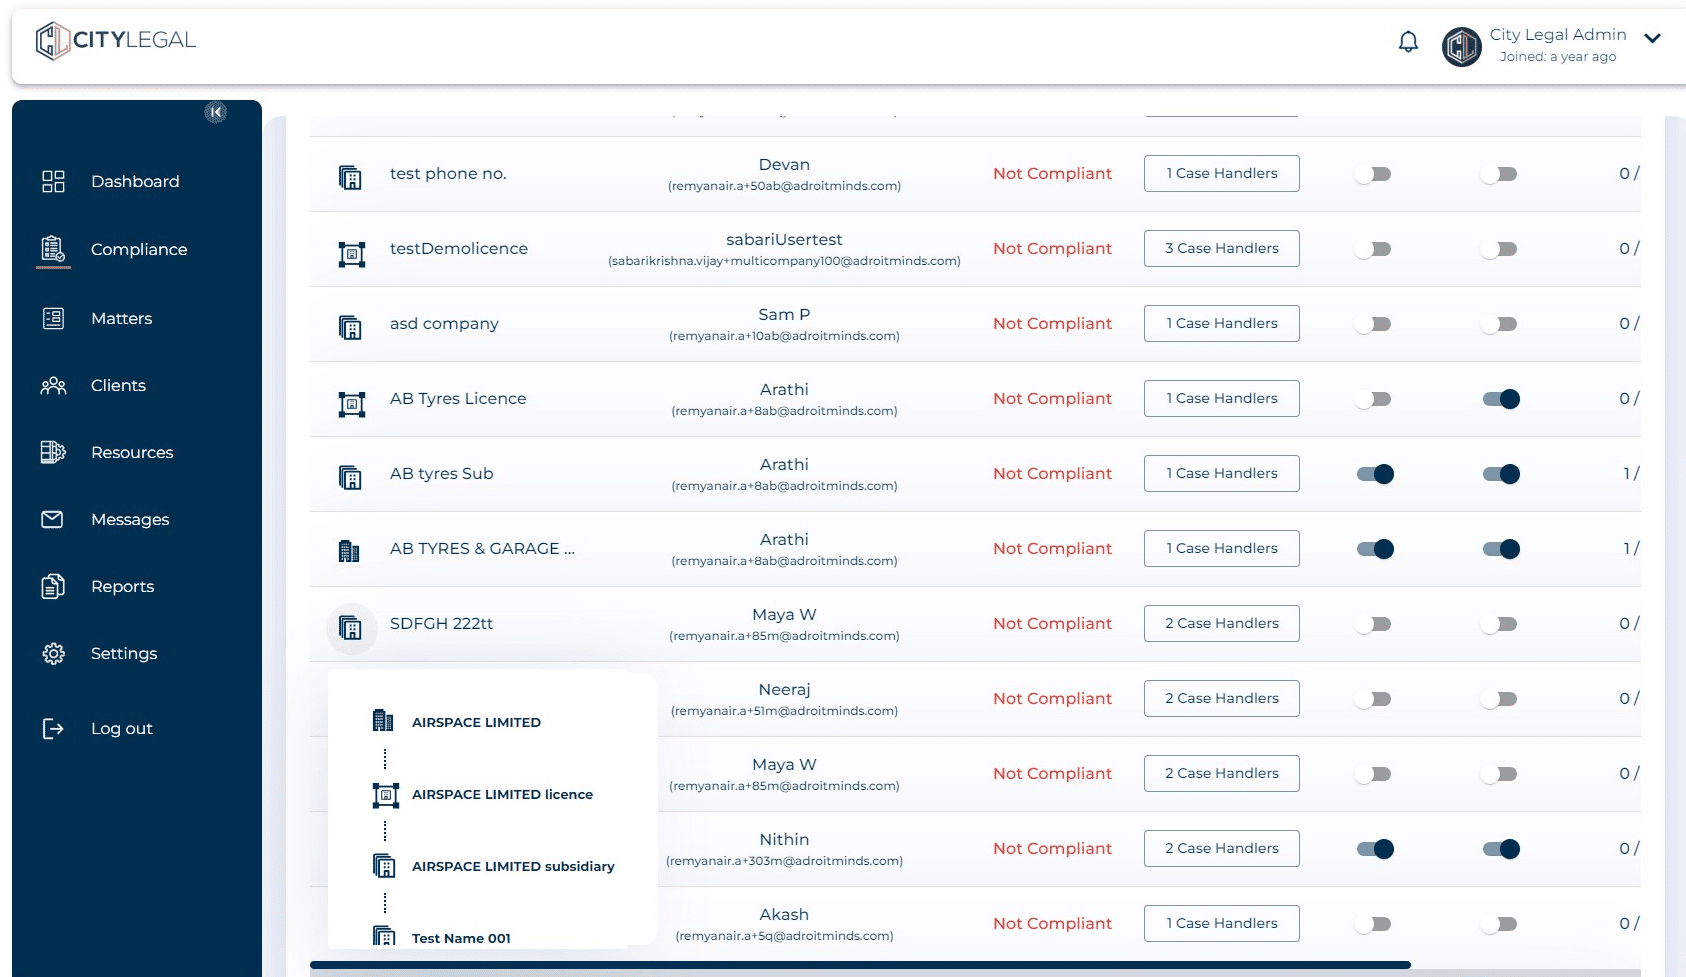
In the 'Compliance' section, if you hover over the icons then you can see the hierarchy starting from the master company. Few examples below.
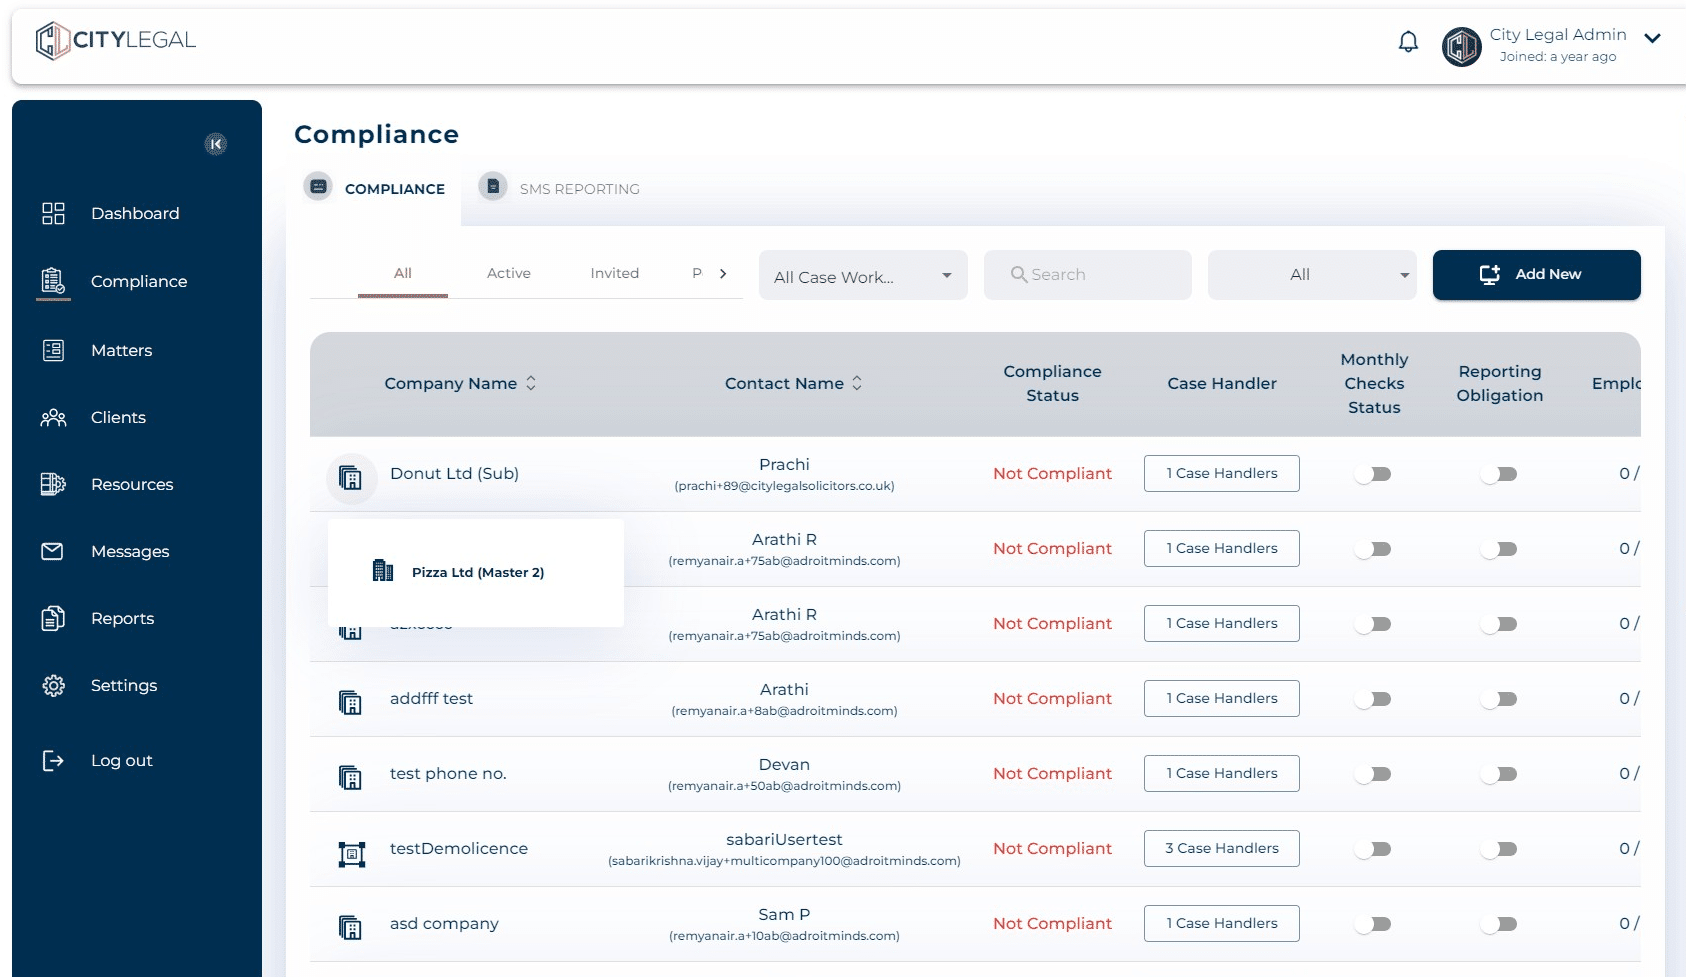
Example.
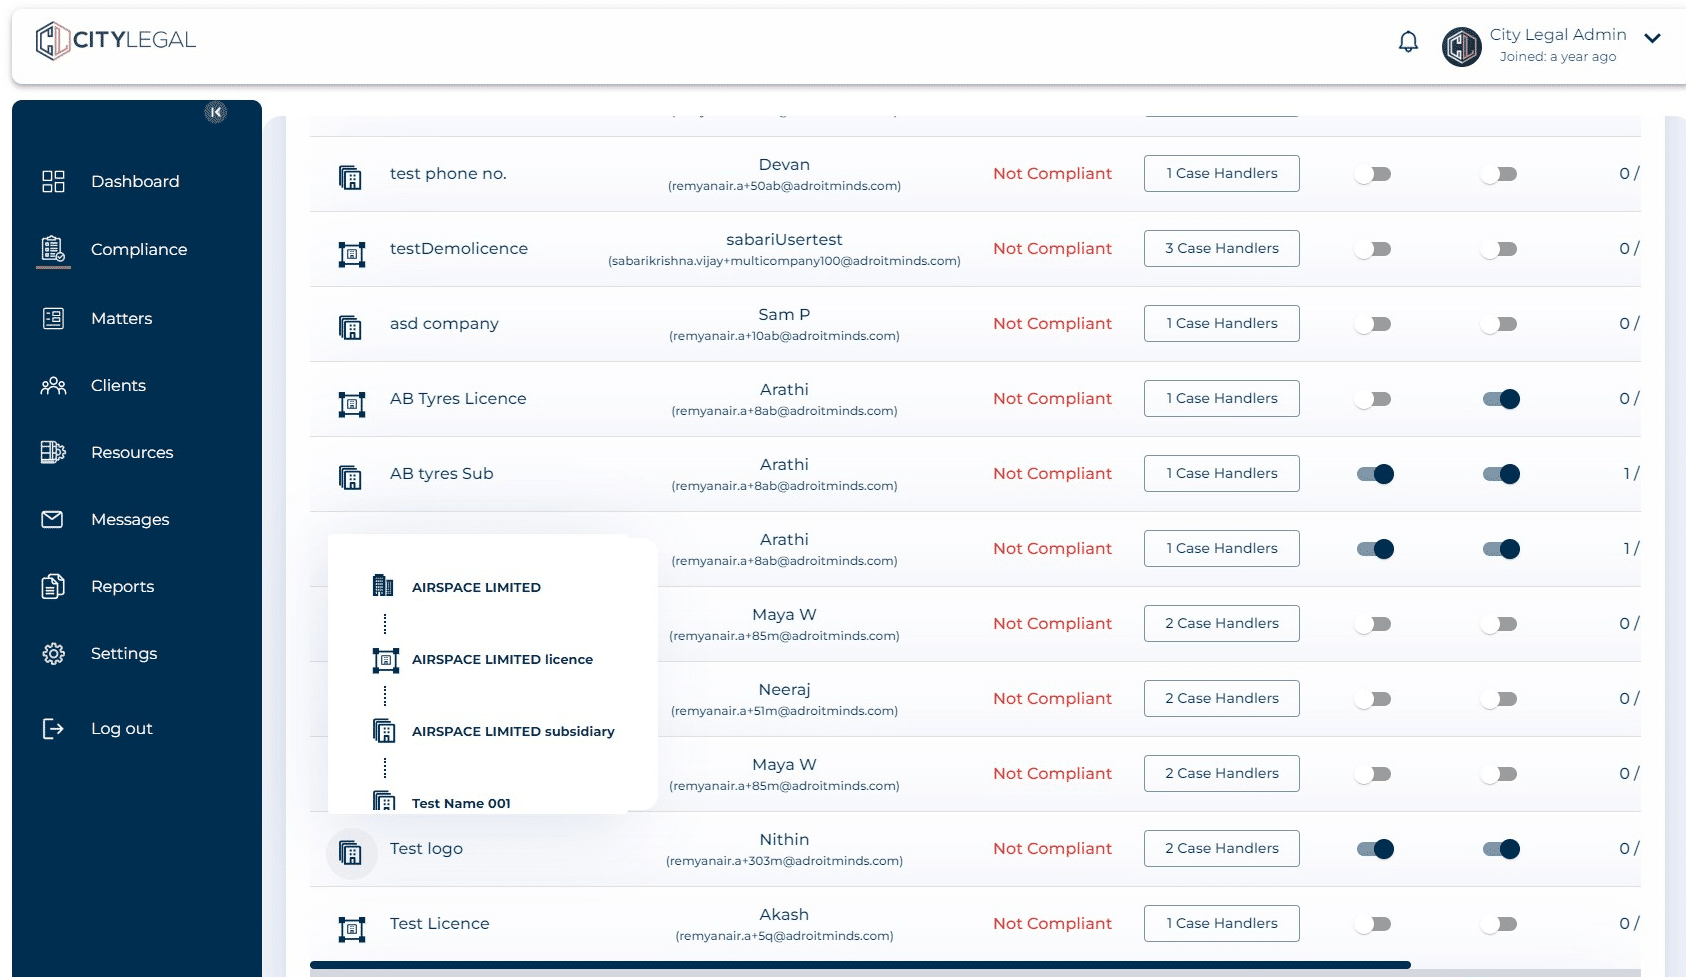
Example